










Trelvic
Trelvic
OVERWATCH 2 Analytics

Domina Statistics

domina
TankTank
StalwartStalwart

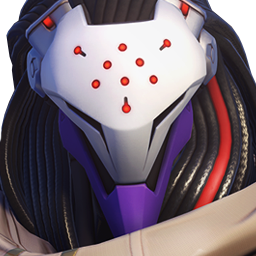
As Vishkar Corporation’s most prized negotiator, Domina uses her masterful command of hard-light to take control of every situation.

TankStalwartDifficulty 3.0/5
Trelvic Patch : 1.042026.08.05 Updated
Attributes

Hero Attributes

Review base attributes and combat information for this hero at a glance.

Basic

Basic Stats

Health
650HP
Move Speed
5.5m/s
Ammo
무한
Reload
-
Combat

Combat Info

Headshot
Unavailable
Fire Type
근접
Hero Skills

Skills & Perks

Review this hero's skills and perks, then explore recommended combinations.

Skills
Perks
Skills

Photon Magnum

Skill Details

Photon Magnum

Description

Medium-range beam that culminates in a high impact shot.

Hero Tips

Medium-range beam that culminates in a high impact shot.

Recommended Build

Recommended Perks

Perk combinations that are strong choices for the current meta.

Perk Tier

Lv.2 Minor Perks

Efficient Design
Lv.2
Efficient Design
Perks

After using Barrier Array, restore 50 shields and activate passive health regeneration.

LAlt
LMB
Extended Power
Lv.2Best
Extended Power
Perks

Increase the range of Photon Magnum by 20%.

LAlt
RMB
Perk Tier

Lv.3 Major Perks

Disruptive Detonation
Lv.3
Disruptive Detonation
Perks

Enemies hit by Crystal Charge's explosion are slowed by 30% for 2 seconds.

LAlt
LMB
Corporate Retreat
Lv.3Best
Corporate Retreat
Perks

While Barrier Array is active, it can be moved one time to another location.

LAlt
RMB
Matchups

Counters & Matchups

Check difficult and favorable hero matchups.

Tier Performance

Tier Performance

Compare overall, pick rate, win rate, and ban rate by competitive tier. Trend values appear when available in the database.

브론즈
Competitive
Overall
19.8
-
Pick Rate
5.3%
-
Win Rate
49.8%
-
Ban Rate
4.3%
-
실버
Competitive
Overall
19.2
-
Pick Rate
4.3%
-
Win Rate
50.0%
-
Ban Rate
3.4%
-
골드
Competitive
Overall
18.8
-
Pick Rate
3.5%
-
Win Rate
50.4%
-
Ban Rate
2.6%
-
플래티넘
Competitive
Overall
18.6
-
Pick Rate
3.0%
-
Win Rate
51.2%
-
Ban Rate
1.6%
-
다이아몬드
Competitive
Overall
18.9
-
Pick Rate
2.6%
-
Win Rate
53.0%
-
Ban Rate
1.0%
-
마스터
Competitive
Overall
17.9
-
Pick Rate
2.4%
-
Win Rate
50.8%
-
Ban Rate
0.5%
-
그랜드마스터 + 챔피언
Competitive
Overall
17.9
-
Pick Rate
1.9%
-
Win Rate
51.7%
-
Ban Rate
0.2%
-
Map Win Rate

Map Win Rate

Review every map for this hero by map score and mode-specific win rate.

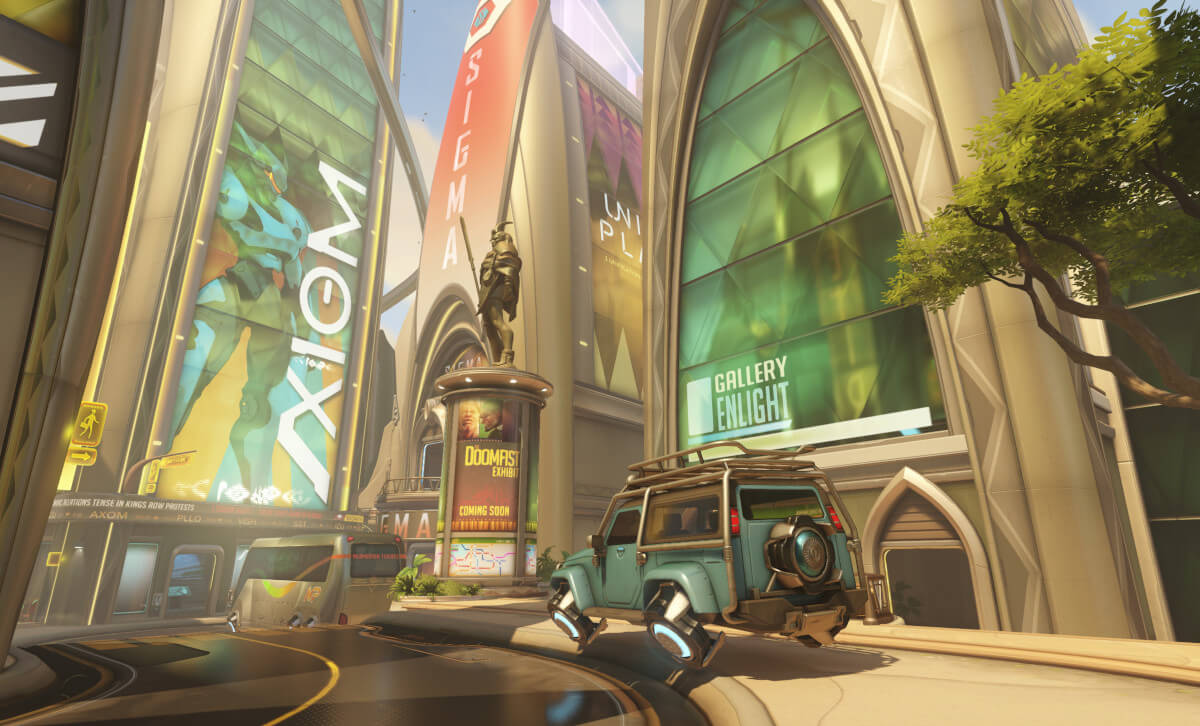
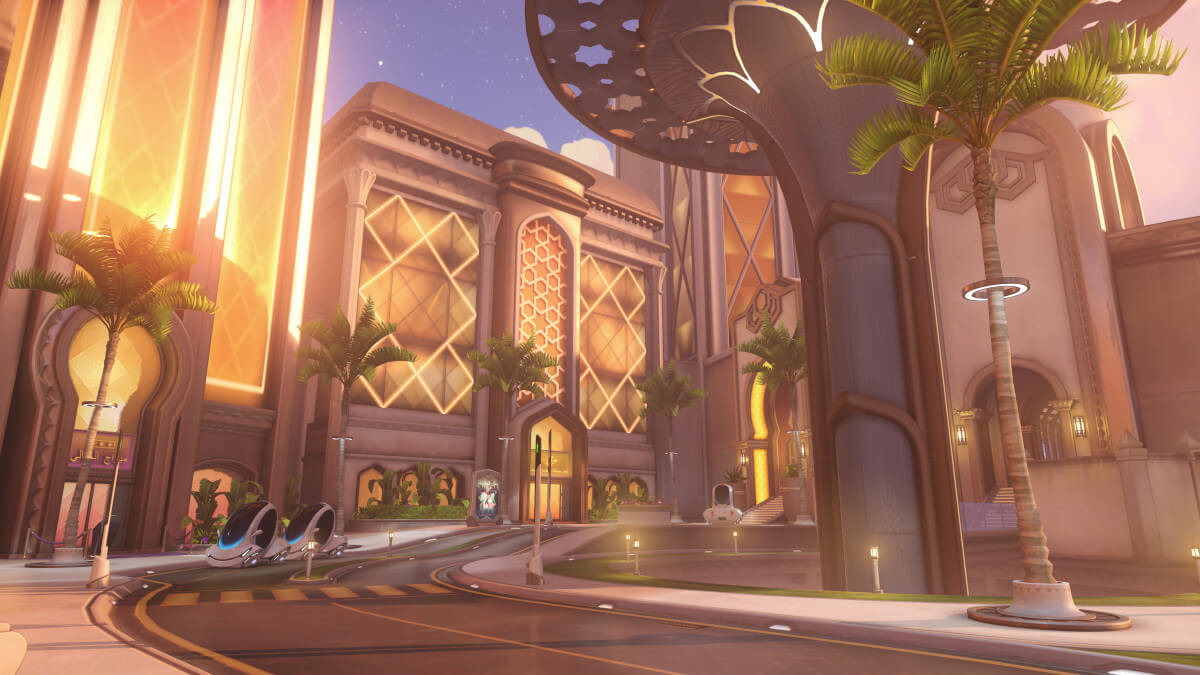
Circuit Royal
#1B
Circuit Royal
Escort
Map Score
43.1
Pick Rate
5.3%
Win Rate
53.5%
Ban Rate
3.2%
Midtown
#2B
Midtown
Hybrid
Map Score
40.2
Pick Rate
5.2%
Win Rate
50.3%
Ban Rate
3.1%
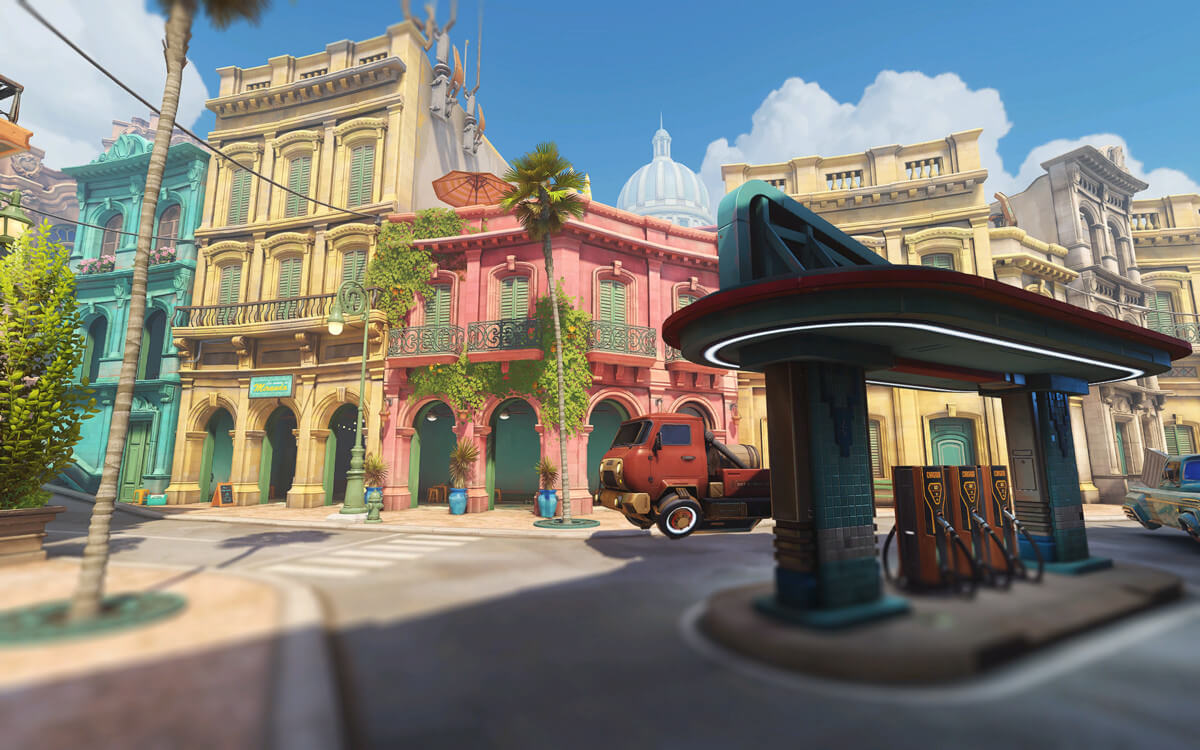
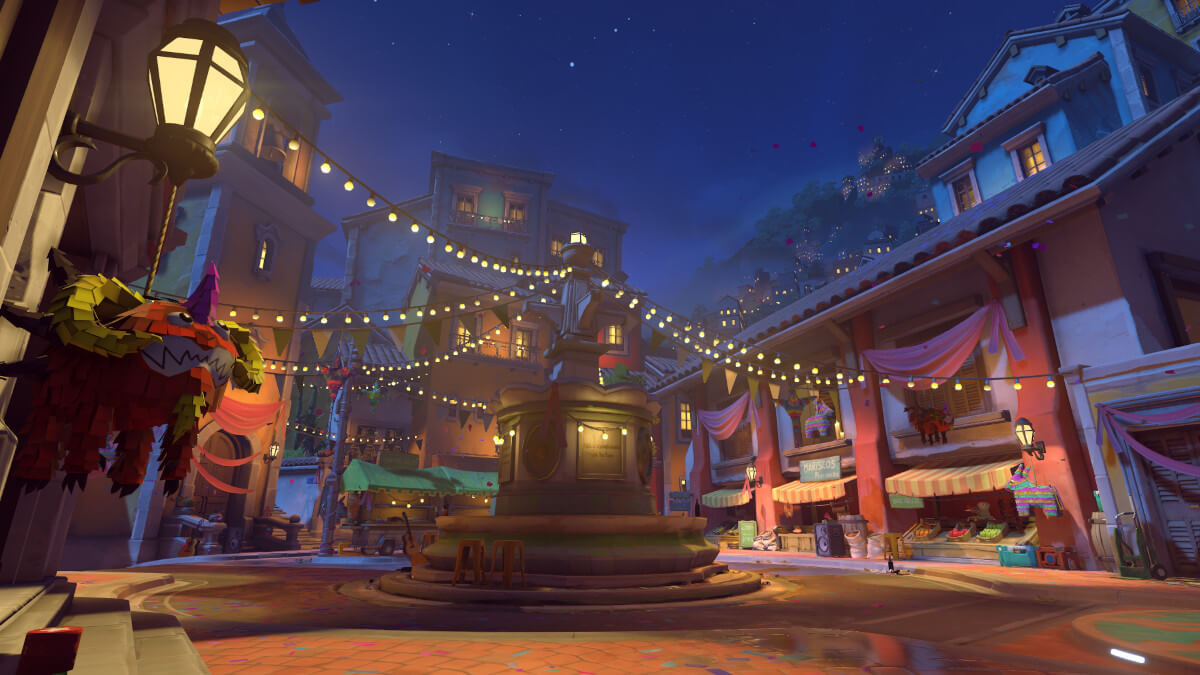
Havana
#3B
Havana
Escort
Map Score
40.2
Pick Rate
4.8%
Win Rate
52.1%
Ban Rate
3.0%
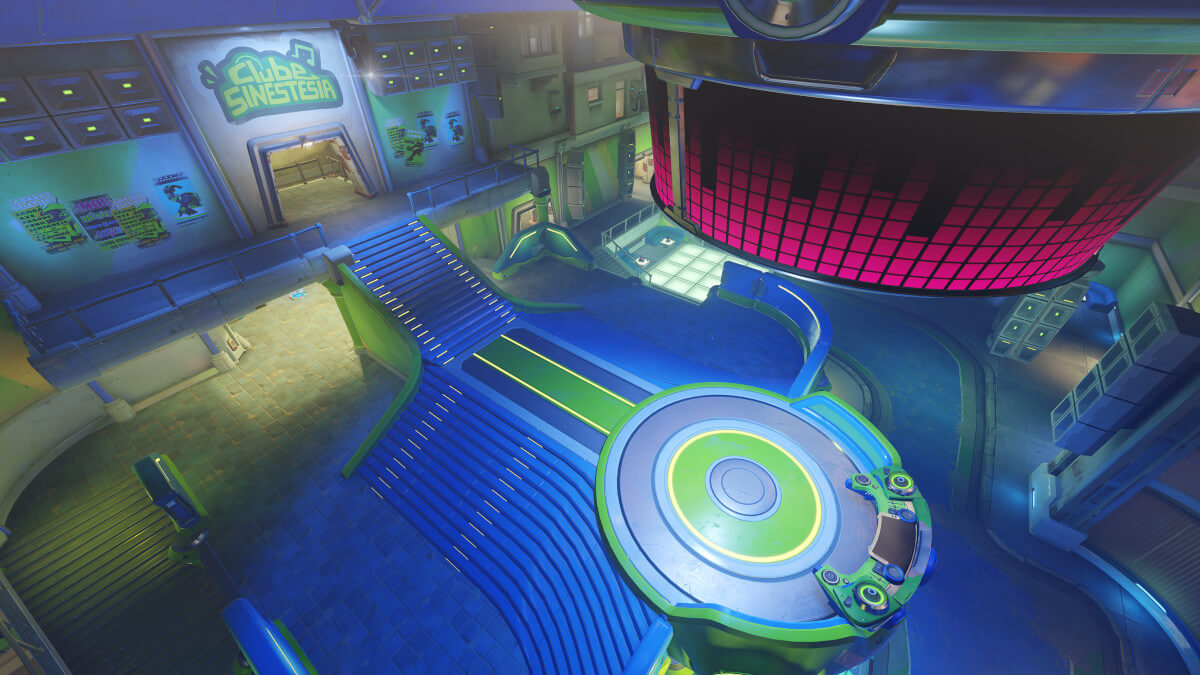
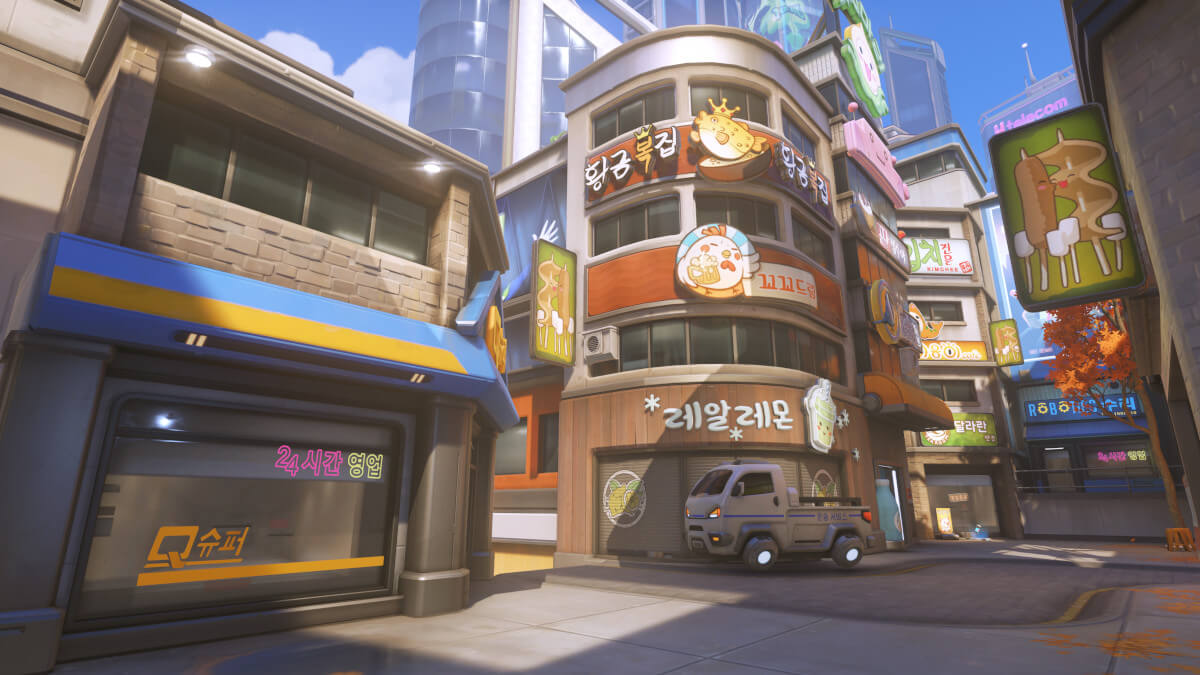
Neon Junction
#4B
Neon Junction
Hybrid
Map Score
40.0
Pick Rate
4.8%
Win Rate
51.9%
Ban Rate
3.1%
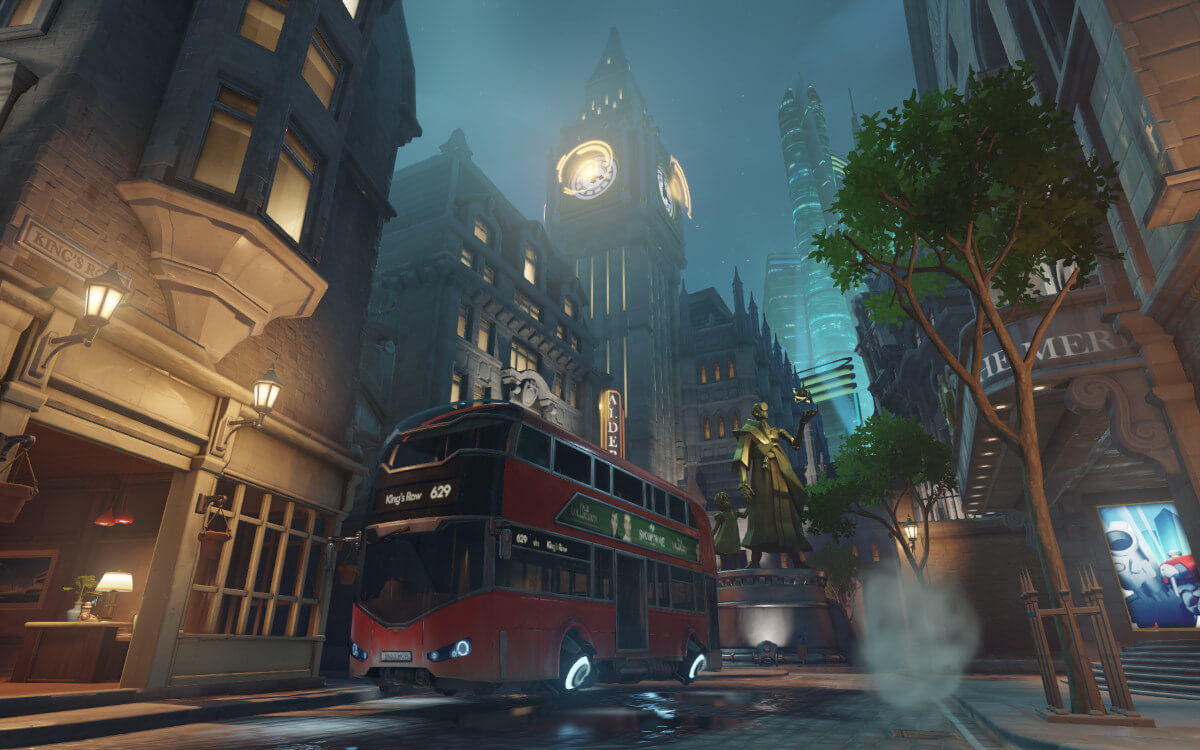
King's Row
#5B
King's Row
Hybrid
Map Score
37.5
Pick Rate
4.2%
Win Rate
51.7%
Ban Rate
2.7%
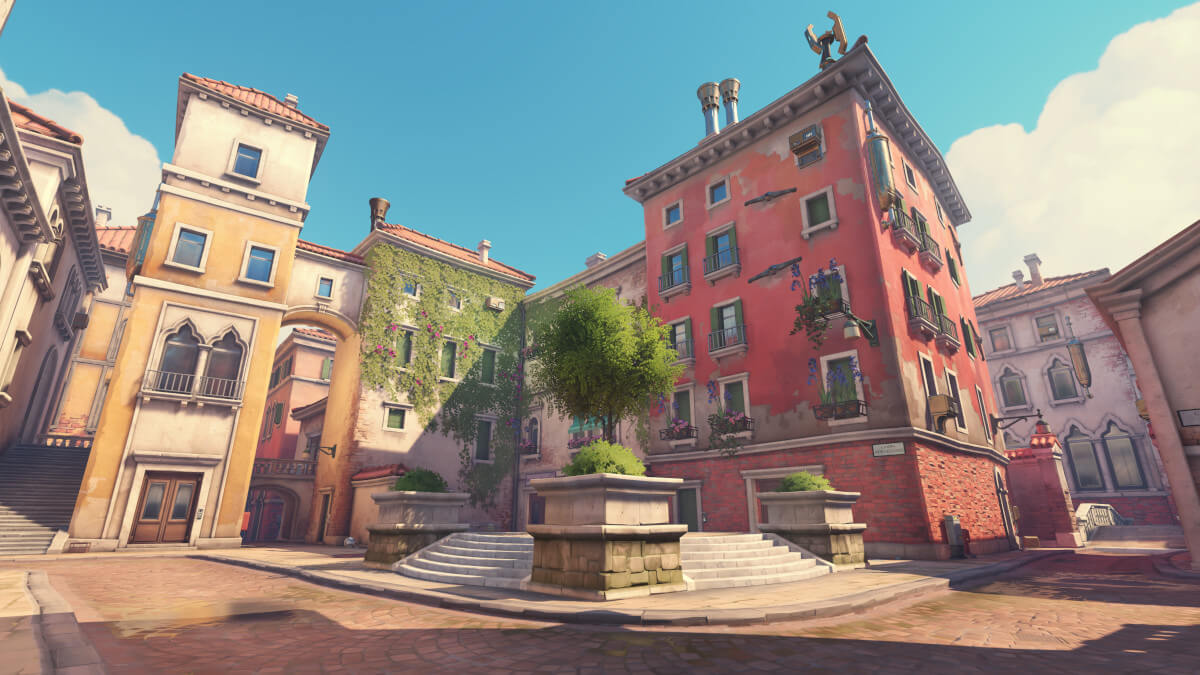
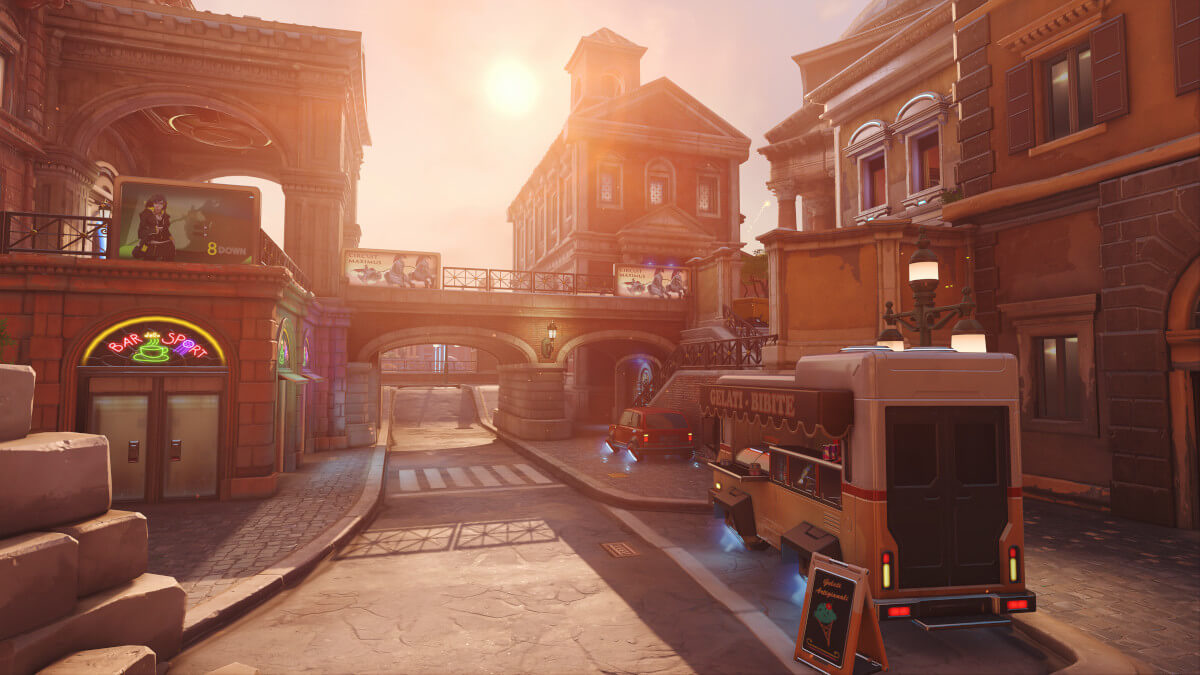
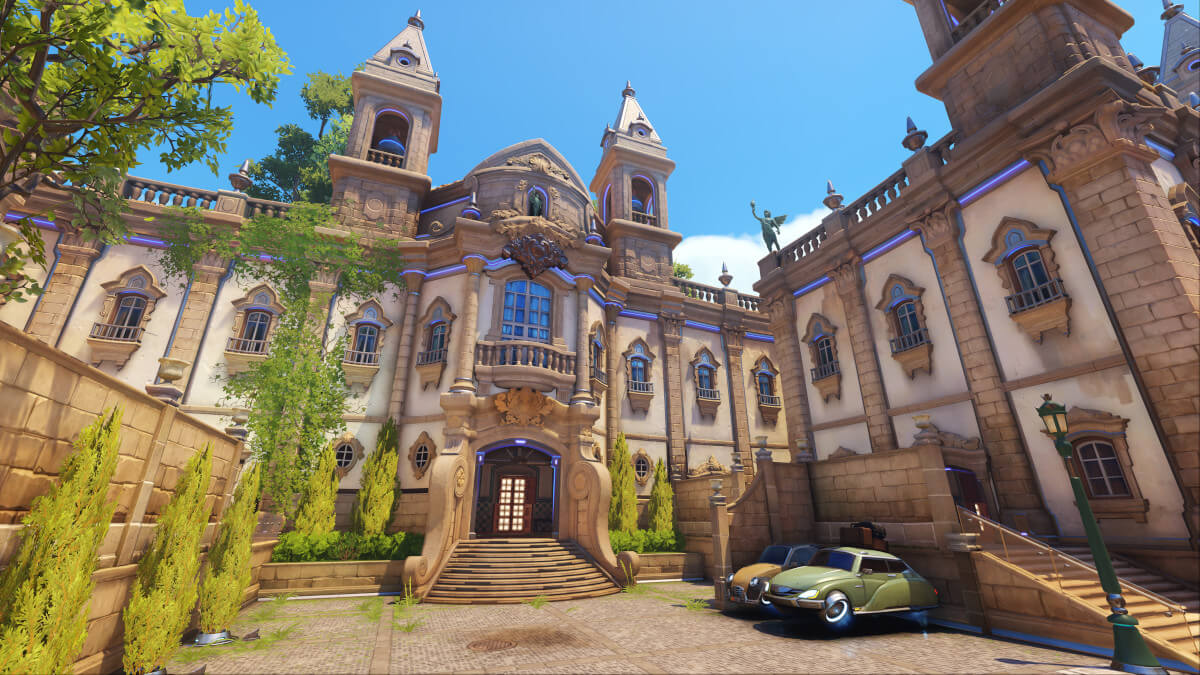
Rialto
#6D
Rialto
Escort
Map Score
37.3
Pick Rate
4.3%
Win Rate
50.9%
Ban Rate
2.8%
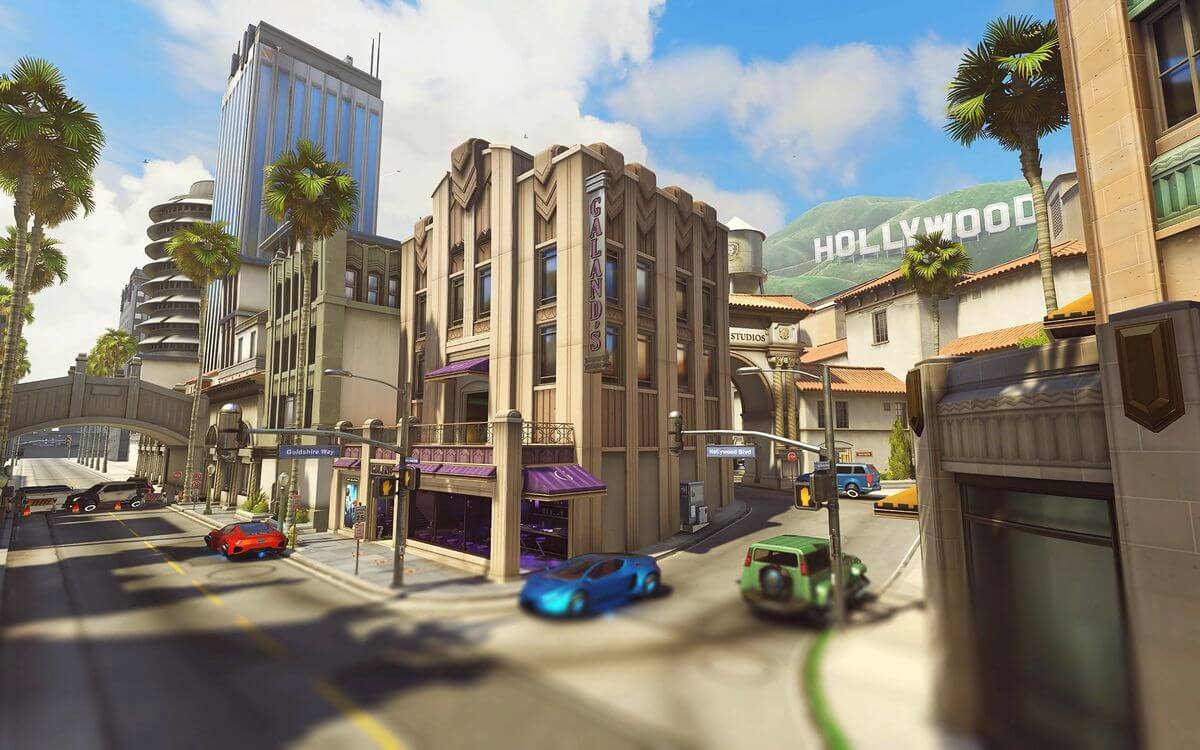
Hollywood
#7C
Hollywood
Hybrid
Map Score
36.5
Pick Rate
4.2%
Win Rate
50.4%
Ban Rate
2.8%
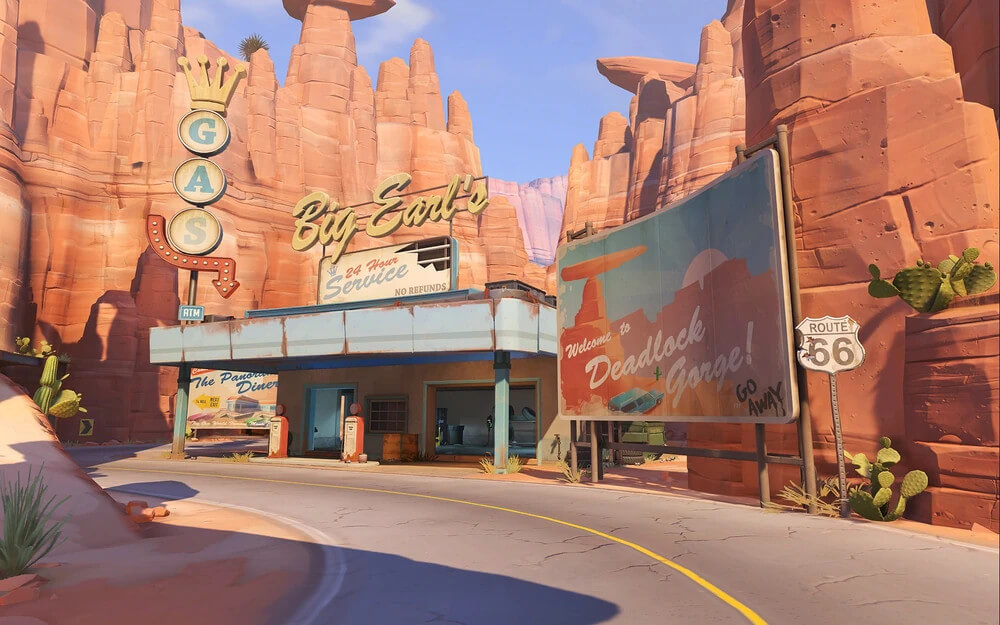
Route 66
#8D
Route 66
Escort
Map Score
36.1
Pick Rate
4.0%
Win Rate
51.0%
Ban Rate
3.0%
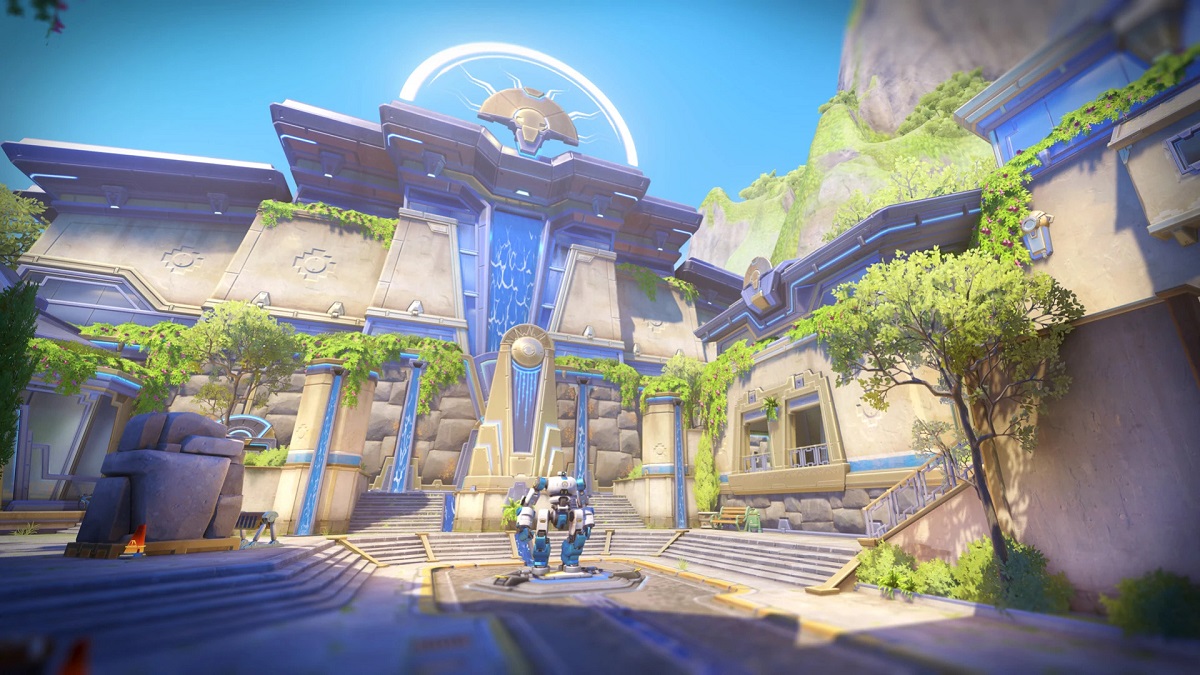
Shambali Monastery
#9C
Shambali Monastery
Escort
Map Score
36.1
Pick Rate
4.2%
Win Rate
49.8%
Ban Rate
2.6%
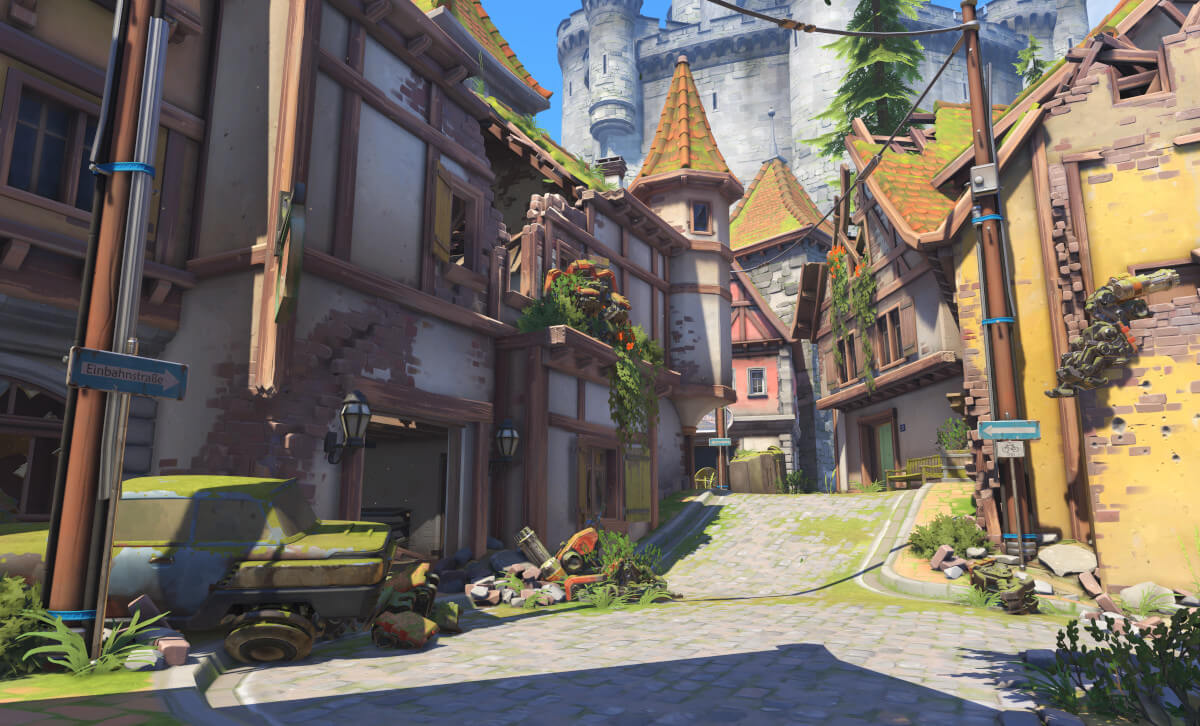
Eichenwalde
#10D
Eichenwalde
Hybrid
Map Score
35.9
Pick Rate
4.1%
Win Rate
50.2%
Ban Rate
2.8%
Blizzard World
#11C
Blizzard World
Hybrid
Map Score
35.6
Pick Rate
3.9%
Win Rate
50.9%
Ban Rate
2.6%
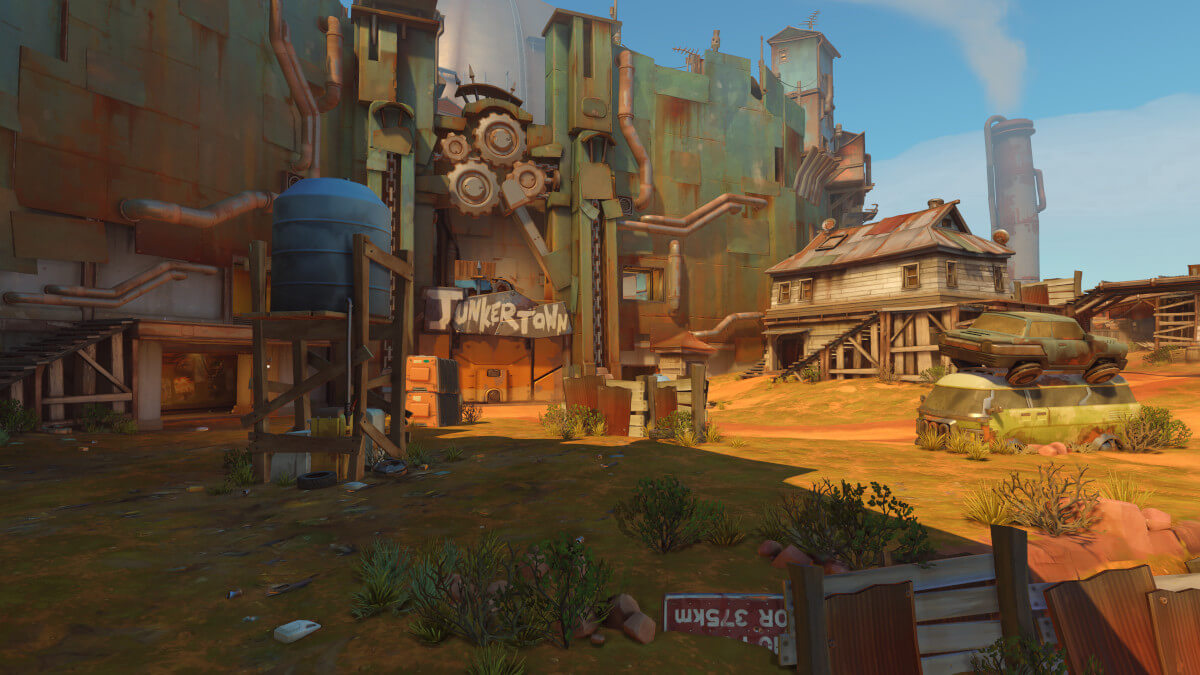
Junkertown
#12D
Junkertown
Escort
Map Score
35.5
Pick Rate
4.0%
Win Rate
50.1%
Ban Rate
2.7%
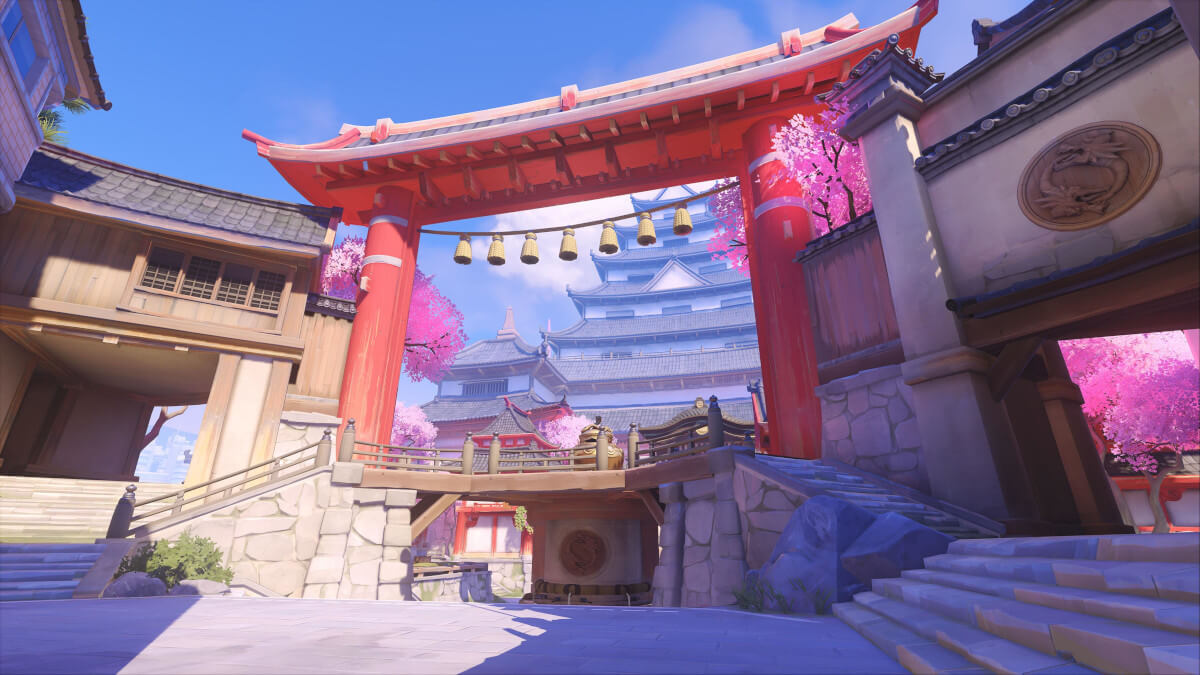
Hanaoka
#13D
Hanaoka
Clash
Map Score
34.0
Pick Rate
3.6%
Win Rate
50.6%
Ban Rate
2.4%
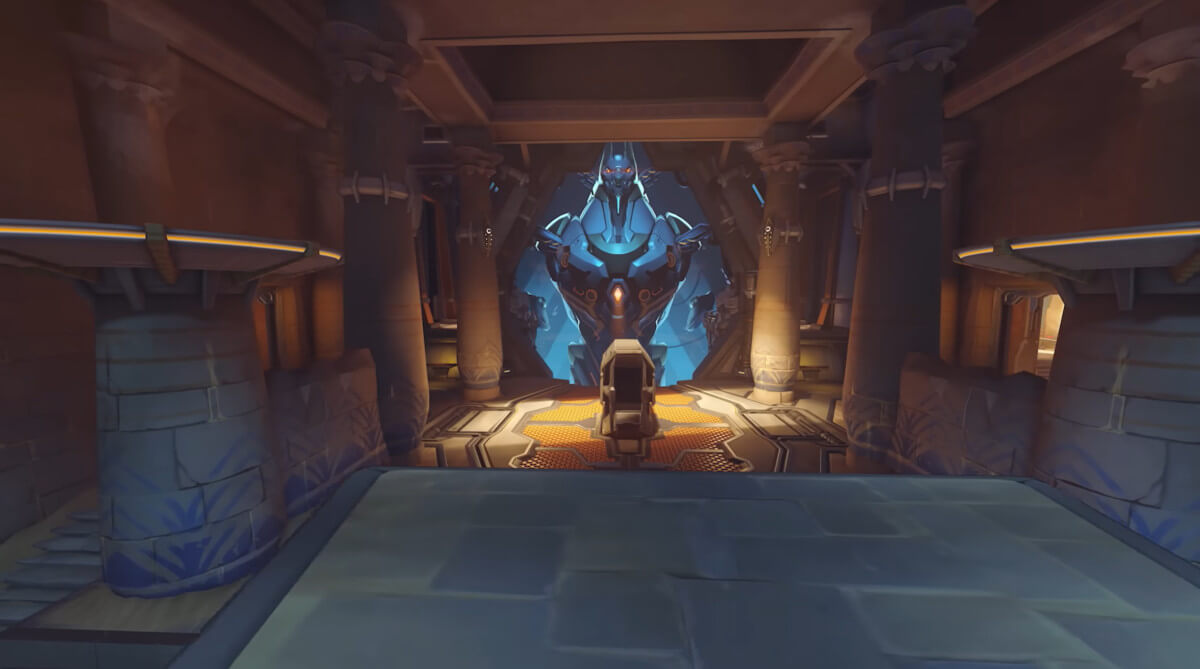
Throne of Anubis
#14D
Throne of Anubis
Clash
Map Score
34.0
Pick Rate
3.6%
Win Rate
50.6%
Ban Rate
2.4%
Paraiso
#15D
Paraiso
Hybrid
Map Score
33.5
Pick Rate
4.3%
Win Rate
45.7%
Ban Rate
3.0%
Colosseo
#16D
Colosseo
Push
Map Score
32.7
Pick Rate
3.4%
Win Rate
50.1%
Ban Rate
2.3%
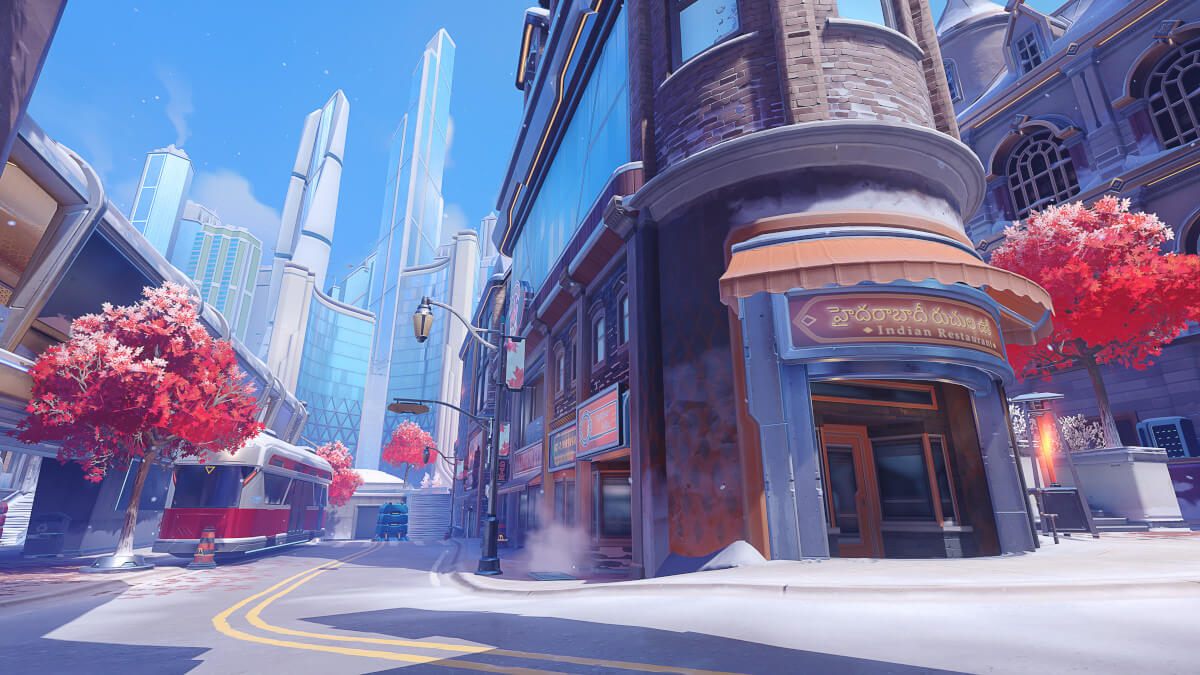
New Queen Street
#17D
New Queen Street
Push
Map Score
32.1
Pick Rate
3.1%
Win Rate
51.5%
Ban Rate
2.1%
Numbani
#18D
Numbani
Hybrid
Map Score
31.5
Pick Rate
3.3%
Win Rate
49.0%
Ban Rate
2.6%
Dorado
#19D
Dorado
Escort
Map Score
31.4
Pick Rate
3.2%
Win Rate
49.5%
Ban Rate
2.8%
Antarctic Peninsula
#20D
Antarctic Peninsula
Control
Map Score
31.2
Pick Rate
3.0%
Win Rate
50.9%
Ban Rate
1.9%
Esperanca
#21D
Esperanca
Push
Map Score
31.2
Pick Rate
3.0%
Win Rate
50.9%
Ban Rate
2.2%
Runasapi
#22D
Runasapi
Push
Map Score
31.0
Pick Rate
3.2%
Win Rate
49.0%
Ban Rate
2.2%
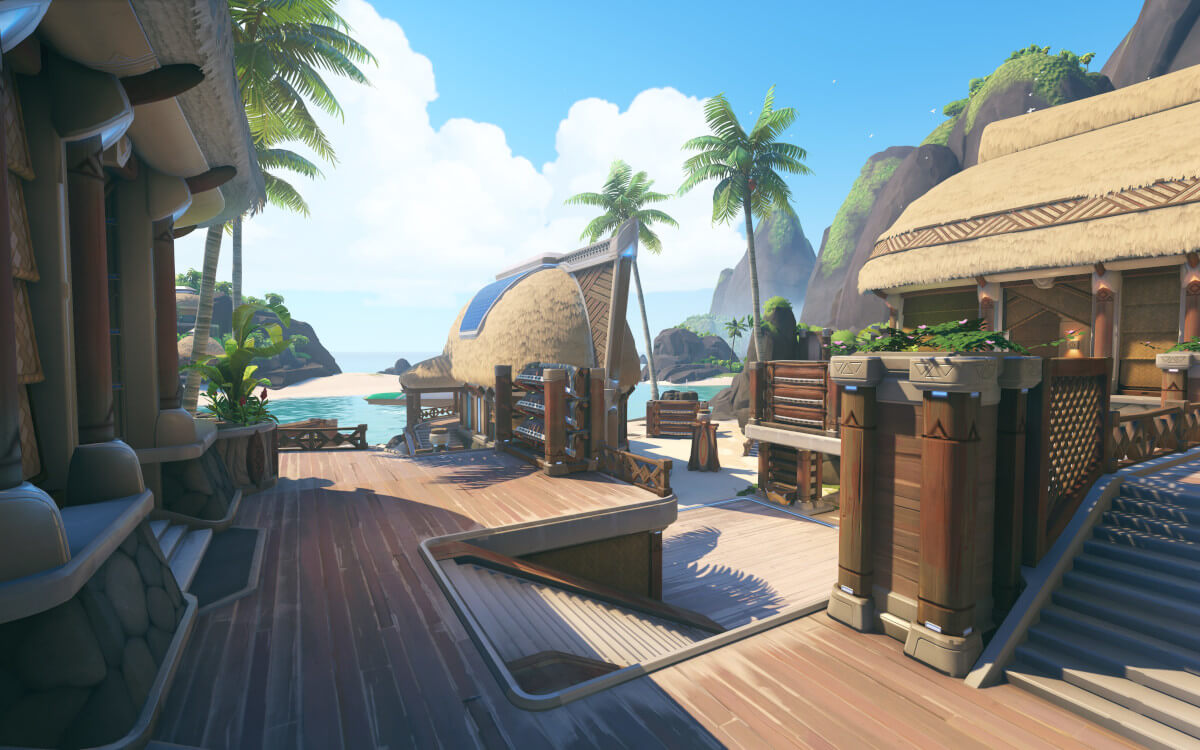
Samoa
#23D
Samoa
Control
Map Score
31.0
Pick Rate
2.9%
Win Rate
51.5%
Ban Rate
1.9%
Busan
#24D
Busan
Control
Map Score
30.9
Pick Rate
2.9%
Win Rate
51.3%
Ban Rate
2.2%
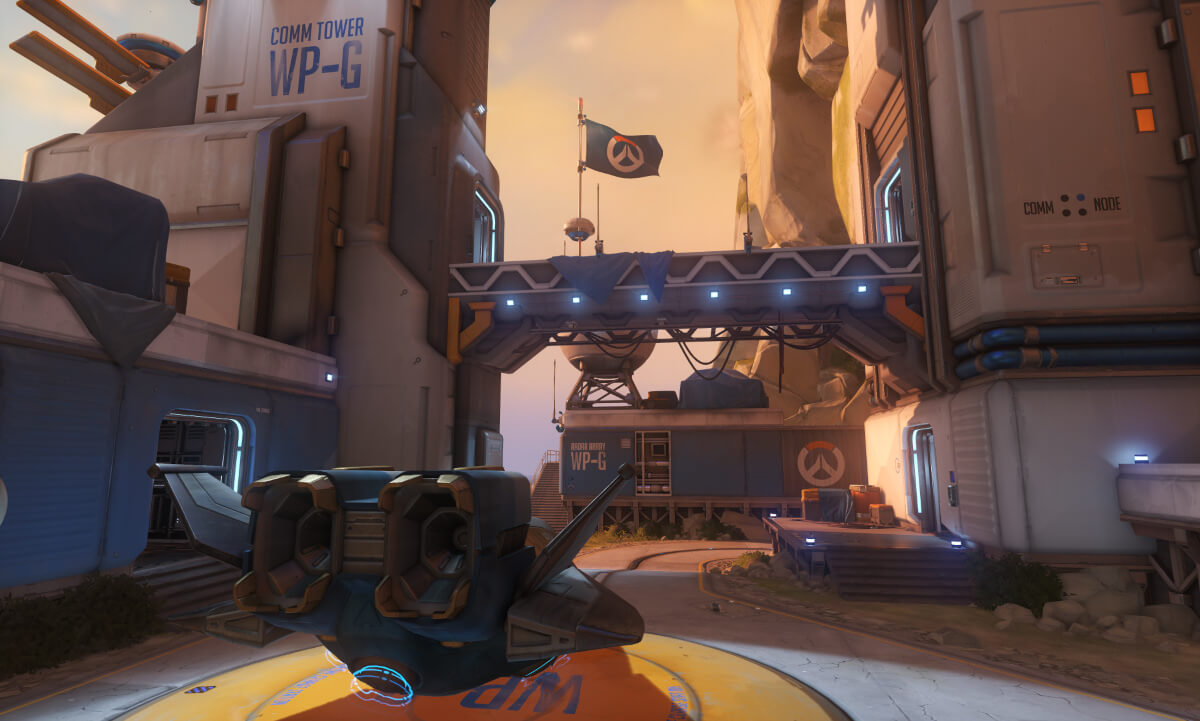
Watchpoint: Gibraltar
#25D
Watchpoint: Gibraltar
Escort
Map Score
30.4
Pick Rate
3.0%
Win Rate
49.6%
Ban Rate
2.5%
Lijiang Tower
#26D
Lijiang Tower
Control
Map Score
29.5
Pick Rate
2.8%
Win Rate
49.9%
Ban Rate
2.0%
Oasis
#27D
Oasis
Control
Map Score
29.0
Pick Rate
2.7%
Win Rate
50.0%
Ban Rate
2.0%
Nepal
#28D
Nepal
Control
Map Score
28.8
Pick Rate
2.7%
Win Rate
49.6%
Ban Rate
2.1%
New Junk City
#29D
New Junk City
Flashpoint
Map Score
27.4
Pick Rate
2.5%
Win Rate
49.2%
Ban Rate
1.8%
Ilios
#30D
Ilios
Control
Map Score
27.3
Pick Rate
2.5%
Win Rate
49.0%
Ban Rate
1.9%
Suravasa
#31D
Suravasa
Flashpoint
Map Score
26.8
Pick Rate
2.3%
Win Rate
50.5%
Ban Rate
1.7%