














Trelvic
Trelvic
OVERWATCH 2 Analytics

Bastion Statistics

bastion
DamageDamage
SpecialistSpecialist

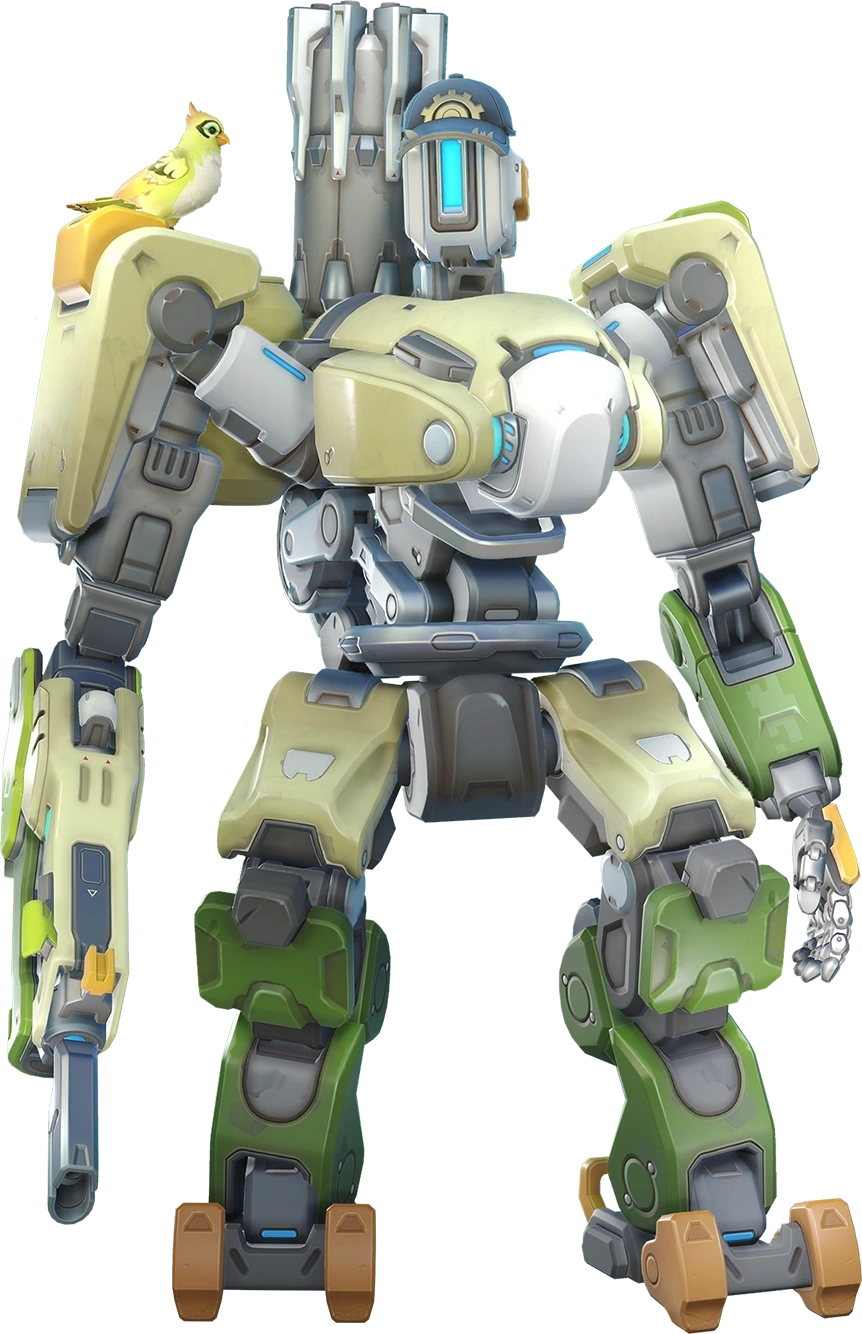
Once a frontline combatant in the devastating Omnic Crisis, this curious Bastion unit now explores the world, fascinated by nature but wary of a fearful humanity.

DamageSpecialistDifficulty 4.0/5
Trelvic Patch : 1.042026.08.05 Updated
Attributes

Hero Attributes

Review base attributes and combat information for this hero at a glance.

Basic

Basic Stats

Health
350HP
Move Speed
5.5m/s
Ammo
100
Reload
1.2s
Combat

Combat Info

Headshot
Available
Fire Type
Hitscan
Hero Skills

Skills & Perks

Review this hero's skills and perks, then explore recommended combinations.

Skills
Perks
Skills

Configuration: Assault

Skill Details

Configuration: Assault

Description

A slow-moving tank with a powerful rotary cannon.

Hero Tips

A slow-moving tank with a powerful rotary cannon.

Recommended Build

Recommended Perks

Perk combinations that are strong choices for the current meta.

Perk Tier

Lv.2 Minor Perks

Smart Bomb
Lv.2
Smart Bomb
Perks

A-36 Tactical Grenade's self-knockback is increased by 25% and no longer damages you.

LAlt
LMB
Configuration Reload
Lv.2Best
Configuration Reload
Perks

Reduce the cooldown of A-36 Tactical Grenade by 4 seconds when changing configurations.

LAlt
RMB
Perk Tier

Lv.3 Major Perks

Lindholm Explosives
Lv.3
Lindholm Explosives
Perks

Configuration: Assault's weapon slowly fires explosive shells instead of a rotary cannon.

LAlt
LMB
Self-Repair
Lv.3Best
Self-Repair
Perks

Press E to rapidly heal yourself.

LAlt
RMB
Tier Performance

Tier Performance

Compare overall, pick rate, win rate, and ban rate by competitive tier. Trend values appear when available in the database.

브론즈
Competitive
Overall
21.1
-
Pick Rate
13.9%
-
Win Rate
47.7%
-
Ban Rate
1.7%
-
실버
Competitive
Overall
19.9
-
Pick Rate
10.5%
-
Win Rate
47.6%
-
Ban Rate
1.7%
-
골드
Competitive
Overall
18.4
-
Pick Rate
7.3%
-
Win Rate
46.6%
-
Ban Rate
1.4%
-
플래티넘
Competitive
Overall
18.1
-
Pick Rate
5.6%
-
Win Rate
47.8%
-
Ban Rate
1.0%
-
다이아몬드
Competitive
Overall
17.2
-
Pick Rate
4.1%
-
Win Rate
46.9%
-
Ban Rate
0.6%
-
마스터
Competitive
Overall
17.5
-
Pick Rate
3.3%
-
Win Rate
48.8%
-
Ban Rate
0.3%
-
그랜드마스터 + 챔피언
Competitive
Overall
16.6
-
Pick Rate
2.7%
-
Win Rate
47.1%
-
Ban Rate
0.1%
-
Map Win Rate

Map Win Rate

Review every map for this hero by map score and mode-specific win rate.

Circuit Royal
#1B
Circuit Royal
Escort
Map Score
51.1
Pick Rate
9.7%
Win Rate
49.5%
Ban Rate
1.3%
Neon Junction
#2B
Neon Junction
Hybrid
Map Score
50.9
Pick Rate
10.8%
Win Rate
47.3%
Ban Rate
1.3%
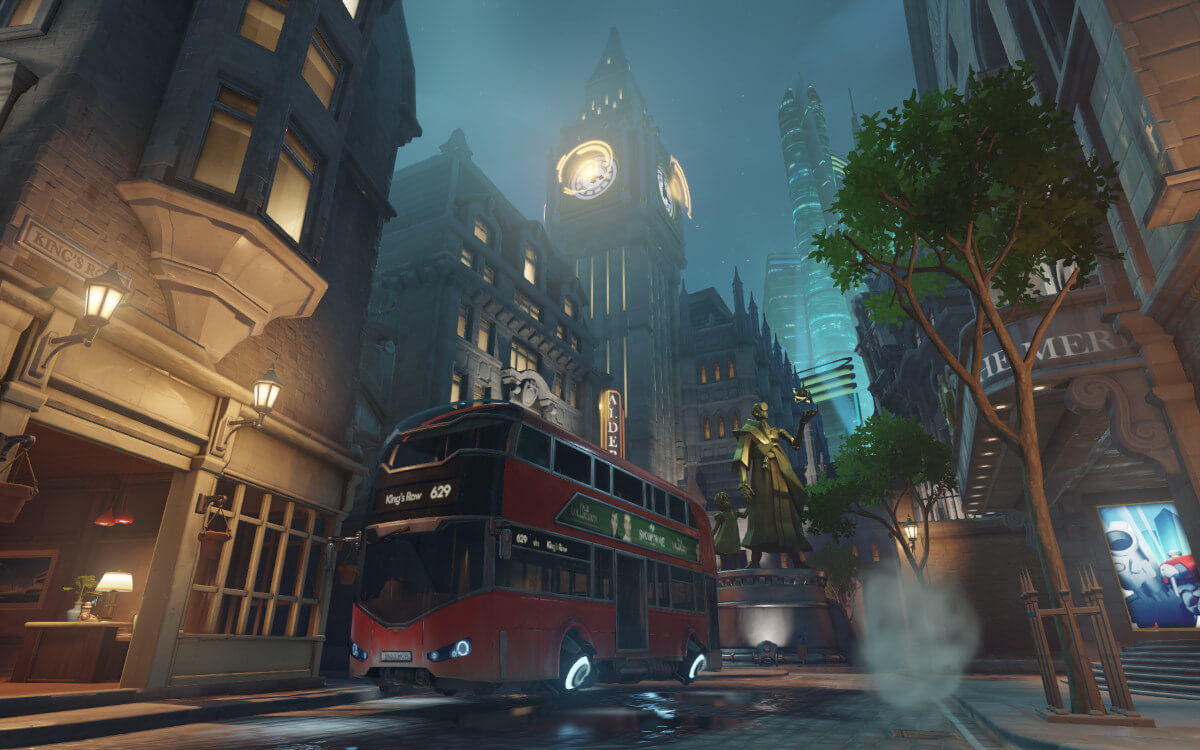
King's Row
#3A
King's Row
Hybrid
Map Score
50.6
Pick Rate
10.2%
Win Rate
48.1%
Ban Rate
1.3%
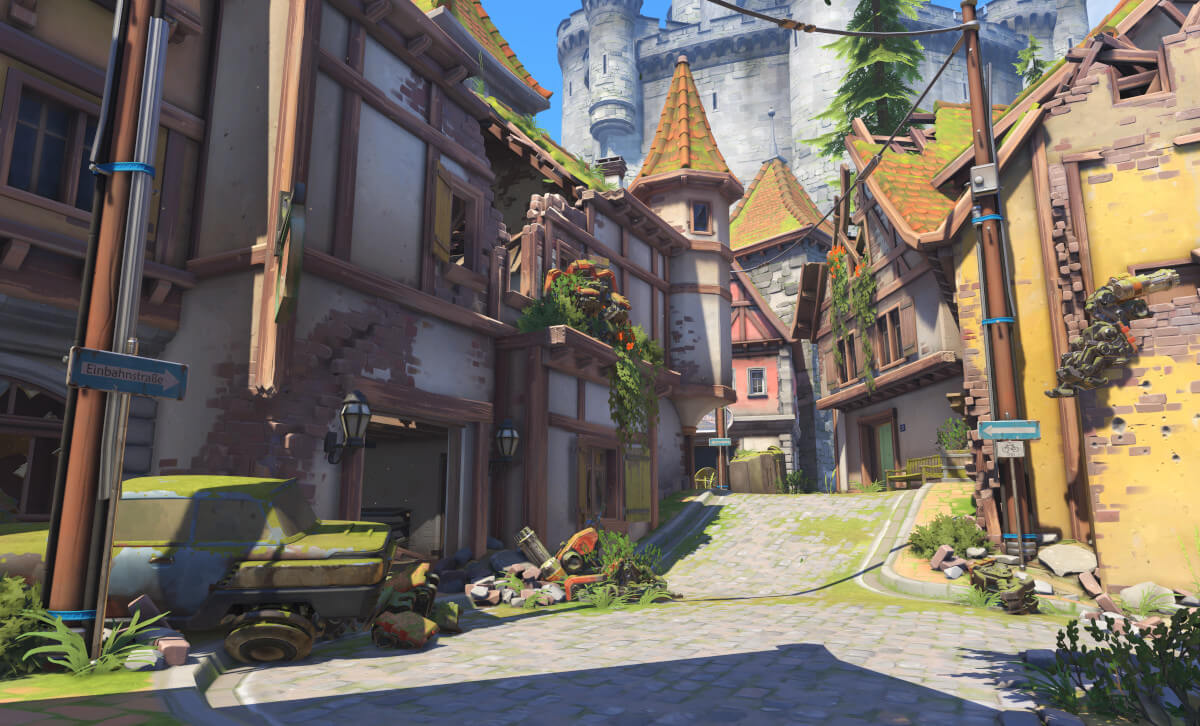
Eichenwalde
#4B
Eichenwalde
Hybrid
Map Score
49.1
Pick Rate
9.9%
Win Rate
47.2%
Ban Rate
1.3%
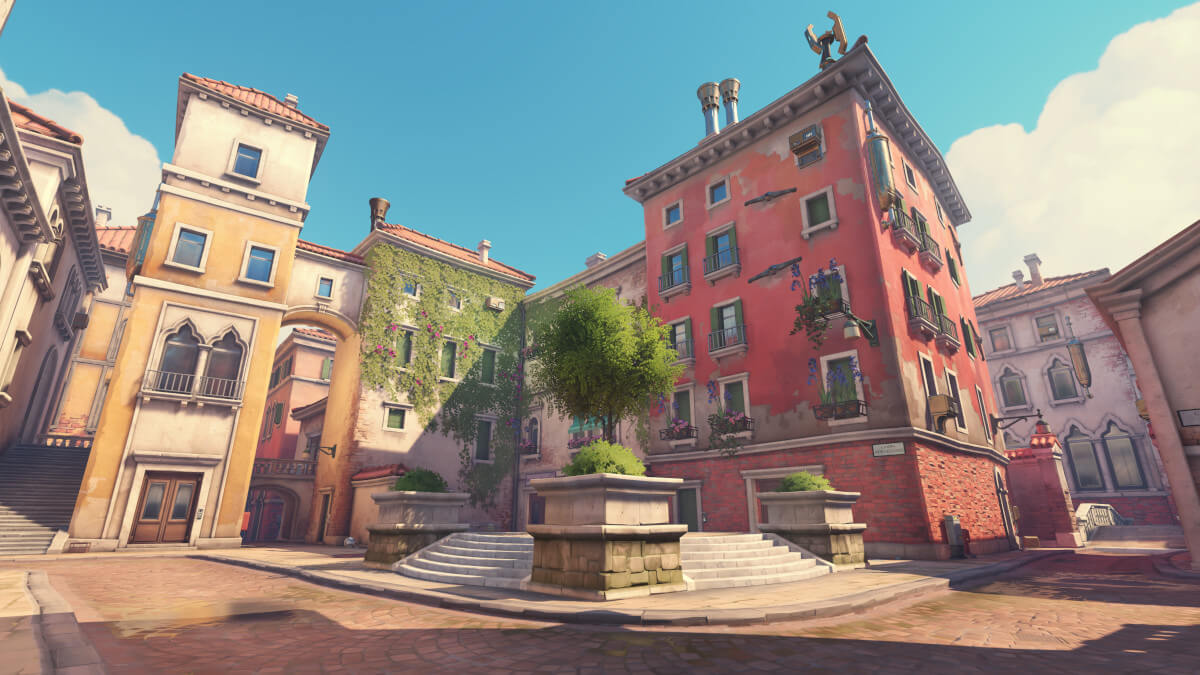
Rialto
#5B
Rialto
Escort
Map Score
48.1
Pick Rate
9.1%
Win Rate
47.7%
Ban Rate
1.2%
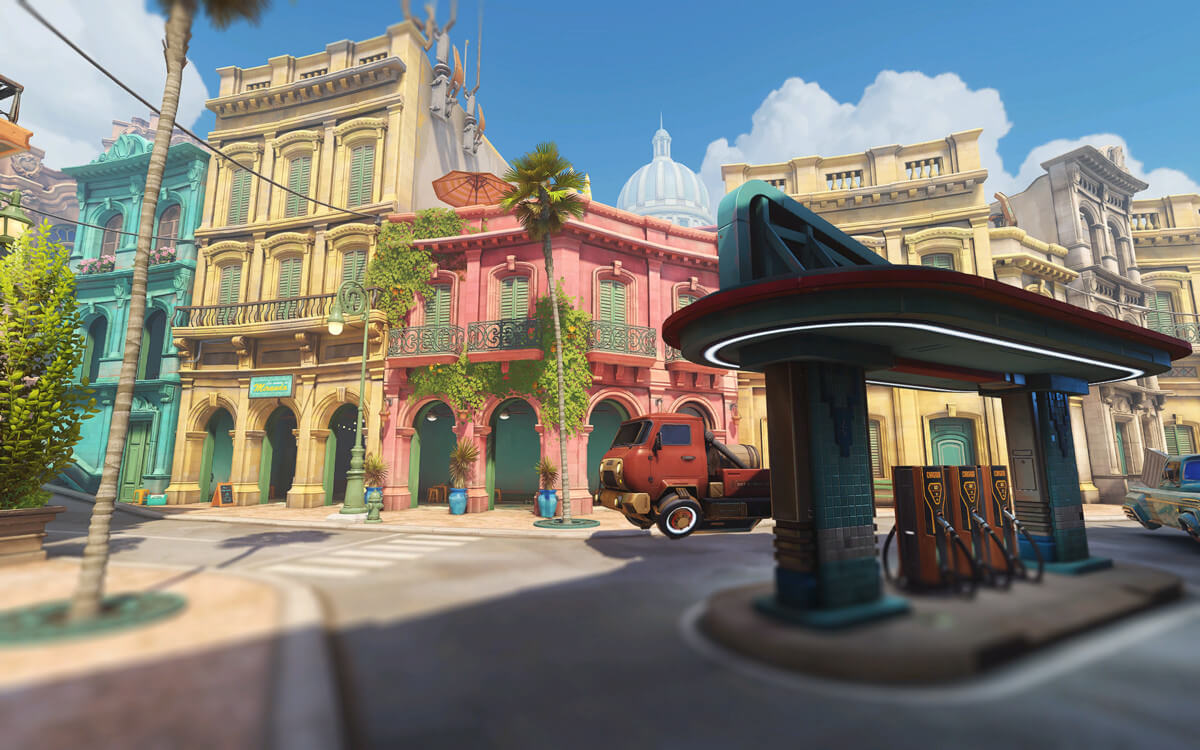
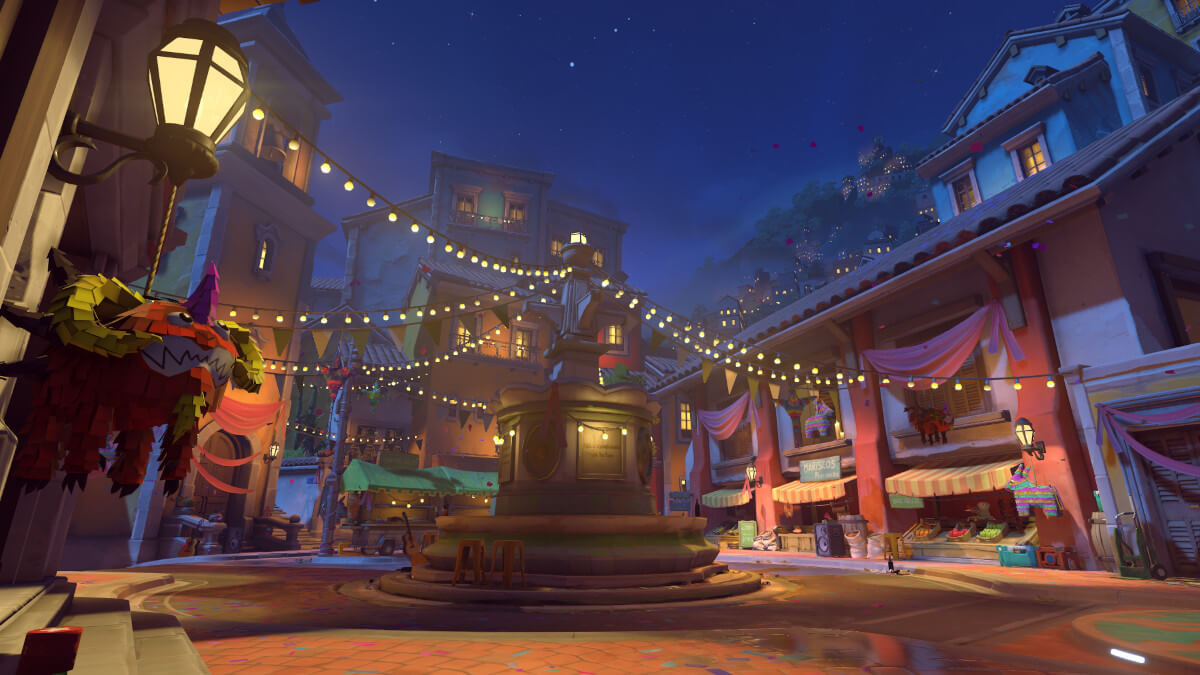
Havana
#6B
Havana
Escort
Map Score
48.0
Pick Rate
8.8%
Win Rate
48.2%
Ban Rate
1.1%
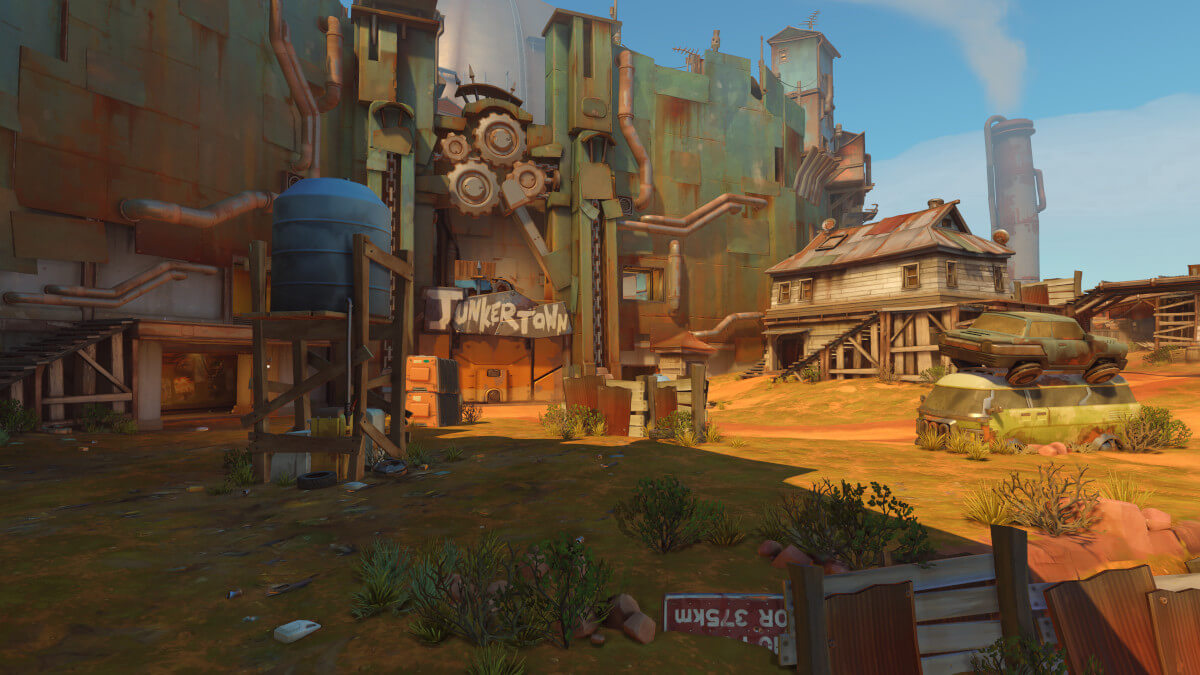
Junkertown
#7B
Junkertown
Escort
Map Score
47.9
Pick Rate
9.1%
Win Rate
47.5%
Ban Rate
1.1%
Midtown
#8B
Midtown
Hybrid
Map Score
47.8
Pick Rate
9.5%
Win Rate
46.6%
Ban Rate
1.2%
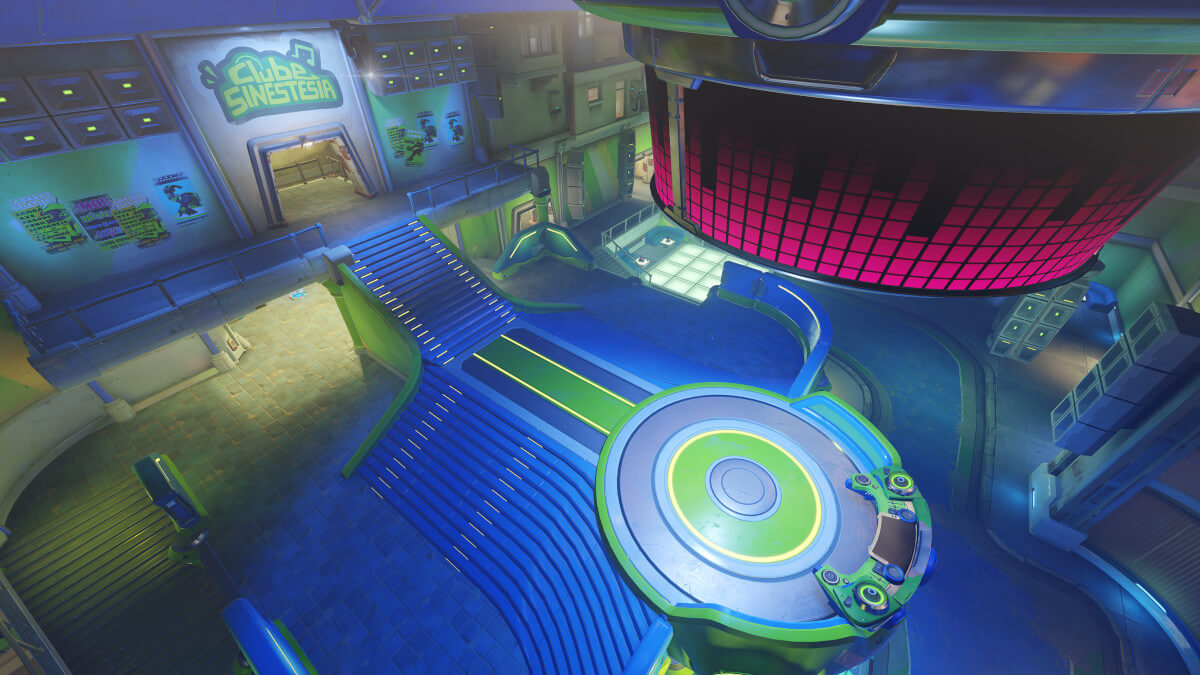
Paraiso
#9B
Paraiso
Hybrid
Map Score
47.5
Pick Rate
9.3%
Win Rate
46.7%
Ban Rate
1.3%
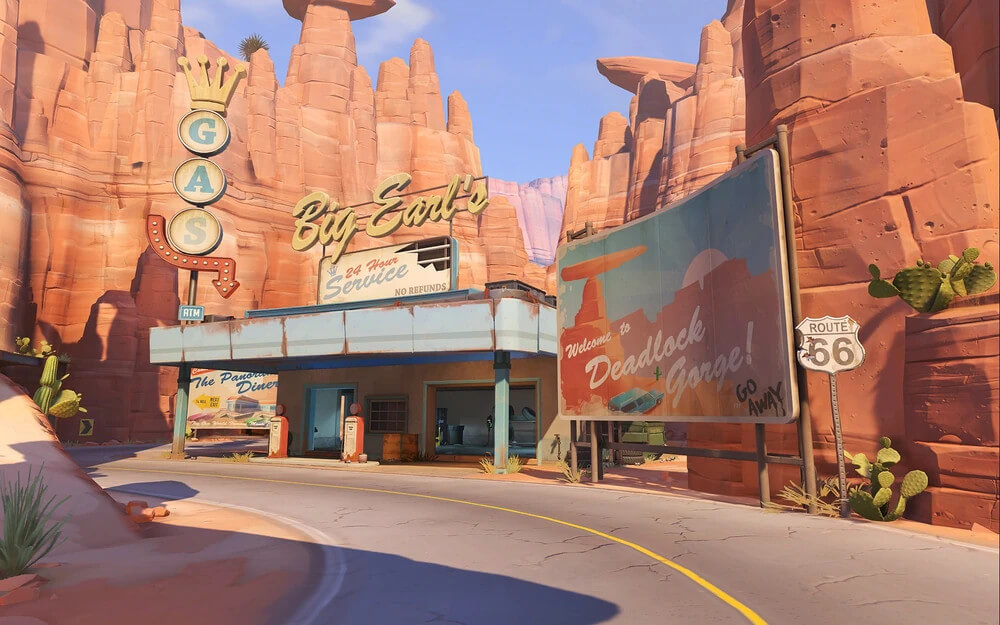
Route 66
#10B
Route 66
Escort
Map Score
46.9
Pick Rate
8.9%
Win Rate
46.9%
Ban Rate
1.2%
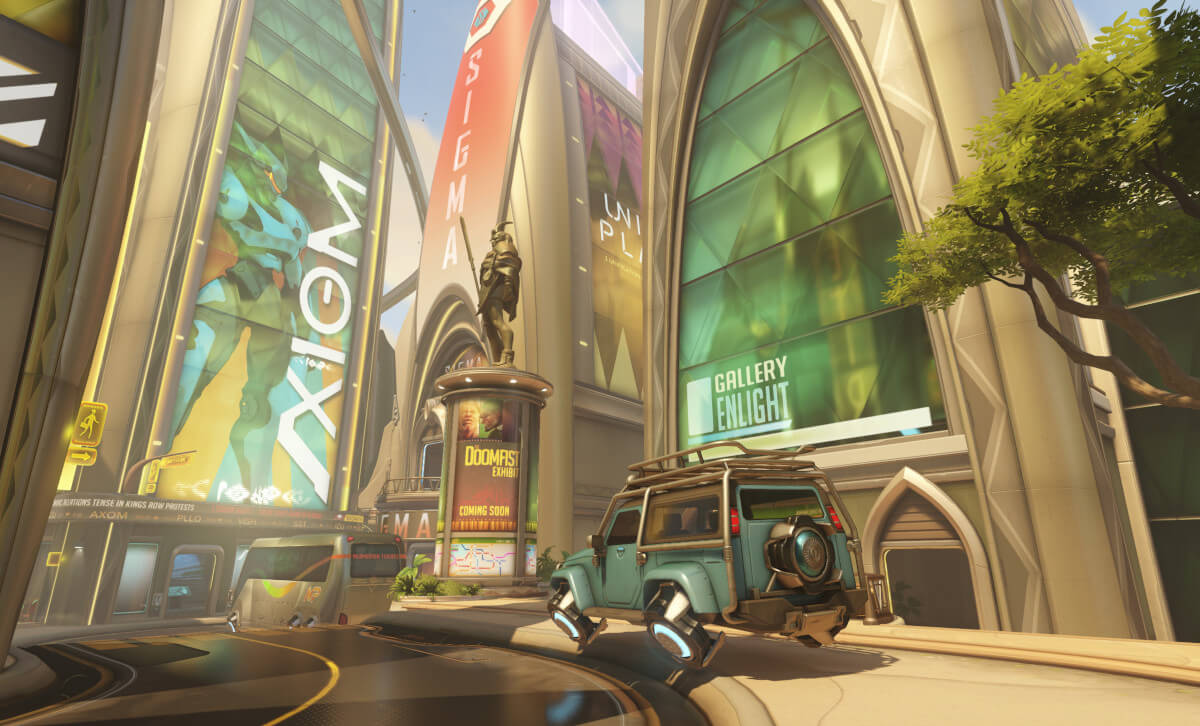
Numbani
#11B
Numbani
Hybrid
Map Score
46.2
Pick Rate
8.8%
Win Rate
46.4%
Ban Rate
1.1%
Dorado
#12B
Dorado
Escort
Map Score
46.0
Pick Rate
8.2%
Win Rate
47.5%
Ban Rate
1.2%
Shambali Monastery
#13B
Shambali Monastery
Escort
Map Score
46.0
Pick Rate
9.1%
Win Rate
45.6%
Ban Rate
1.2%
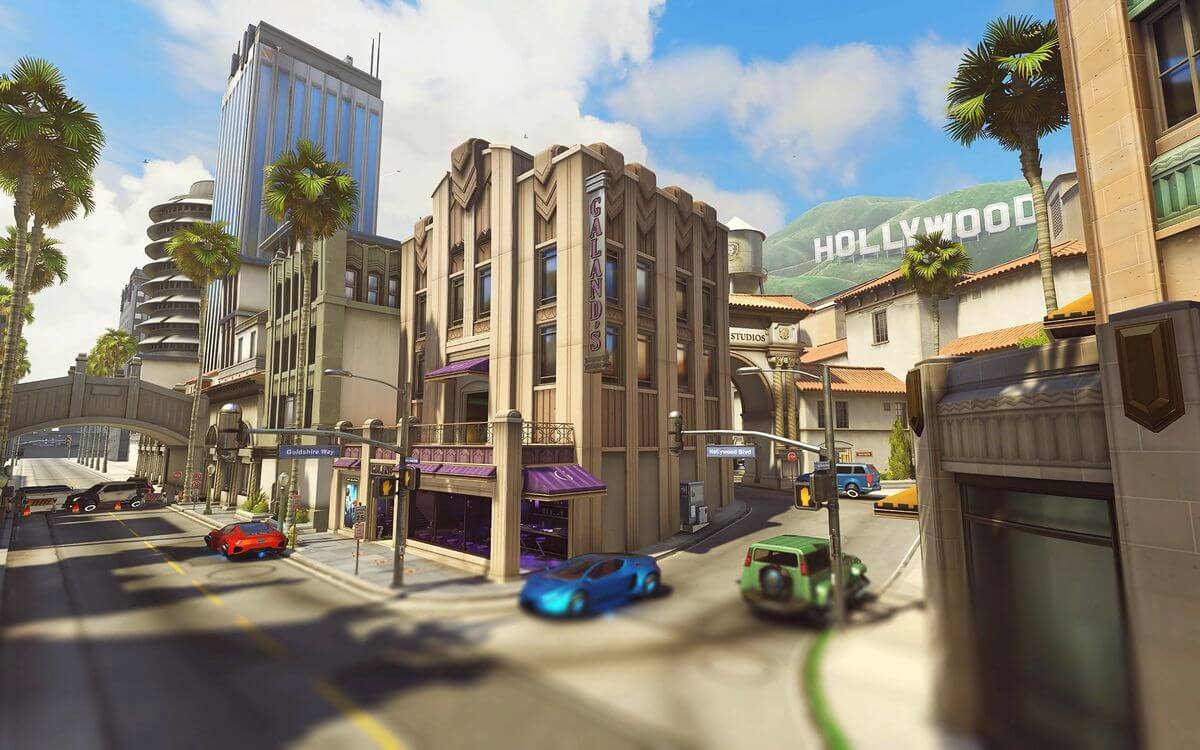
Hollywood
#14B
Hollywood
Hybrid
Map Score
45.5
Pick Rate
9.0%
Win Rate
45.3%
Ban Rate
1.0%
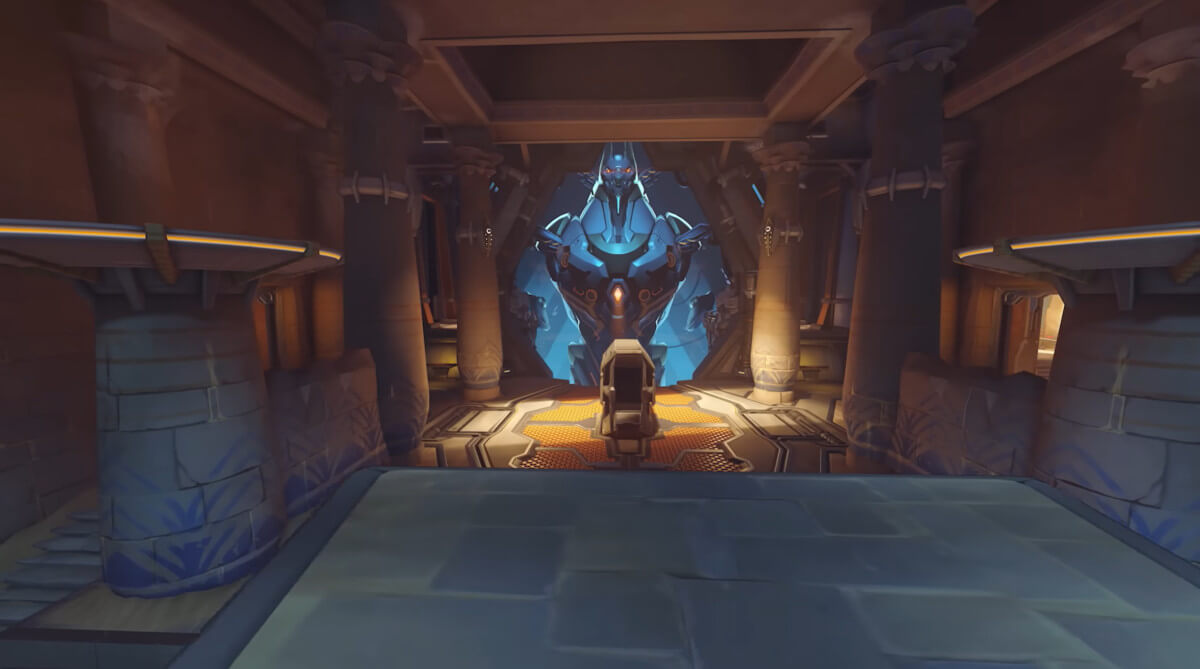
Throne of Anubis
#15B
Throne of Anubis
Clash
Map Score
45.1
Pick Rate
7.9%
Win Rate
47.3%
Ban Rate
1.2%
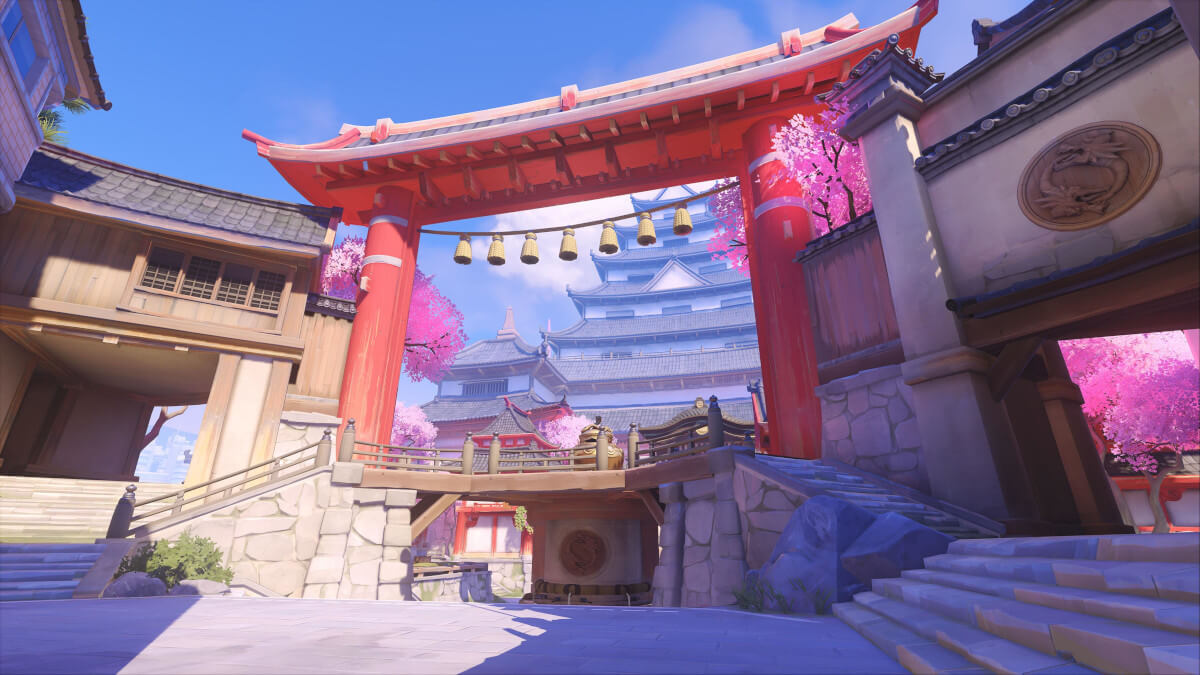
Hanaoka
#16B
Hanaoka
Clash
Map Score
45.1
Pick Rate
7.9%
Win Rate
47.3%
Ban Rate
1.2%
Blizzard World
#17B
Blizzard World
Hybrid
Map Score
44.9
Pick Rate
8.4%
Win Rate
45.9%
Ban Rate
1.1%
Antarctic Peninsula
#18B
Antarctic Peninsula
Control
Map Score
43.4
Pick Rate
6.3%
Win Rate
49.9%
Ban Rate
1.7%
Watchpoint: Gibraltar
#19B
Watchpoint: Gibraltar
Escort
Map Score
43.3
Pick Rate
7.9%
Win Rate
45.4%
Ban Rate
1.4%
Samoa
#20B
Samoa
Control
Map Score
41.8
Pick Rate
6.4%
Win Rate
47.8%
Ban Rate
1.4%
Runasapi
#21B
Runasapi
Push
Map Score
41.6
Pick Rate
6.4%
Win Rate
47.5%
Ban Rate
1.6%
Busan
#22B
Busan
Control
Map Score
40.6
Pick Rate
5.9%
Win Rate
48.1%
Ban Rate
1.4%
Lijiang Tower
#23C
Lijiang Tower
Control
Map Score
40.5
Pick Rate
6.1%
Win Rate
47.2%
Ban Rate
1.0%
Nepal
#24C
Nepal
Control
Map Score
40.3
Pick Rate
5.7%
Win Rate
48.4%
Ban Rate
1.1%
Oasis
#25B
Oasis
Control
Map Score
39.9
Pick Rate
5.7%
Win Rate
47.9%
Ban Rate
1.1%
Esperanca
#26B
Esperanca
Push
Map Score
39.7
Pick Rate
6.0%
Win Rate
46.6%
Ban Rate
1.4%
New Queen Street
#27B
New Queen Street
Push
Map Score
39.7
Pick Rate
6.0%
Win Rate
46.6%
Ban Rate
1.6%
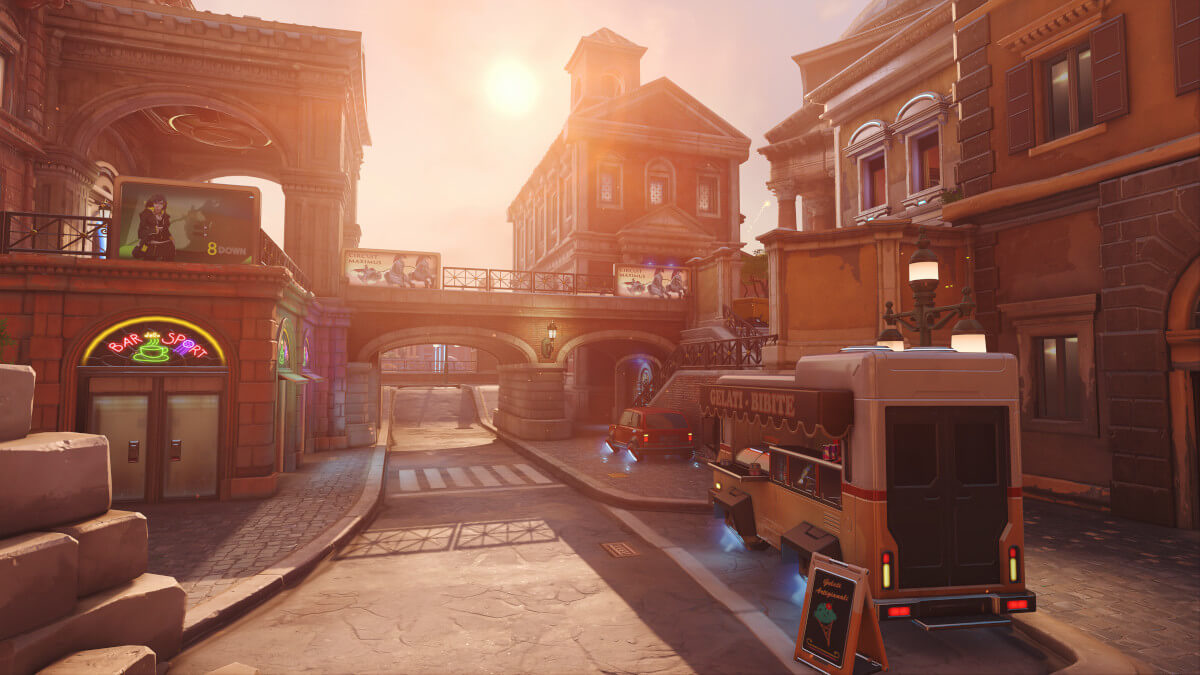
Colosseo
#28C
Colosseo
Push
Map Score
39.5
Pick Rate
6.5%
Win Rate
44.9%
Ban Rate
1.6%
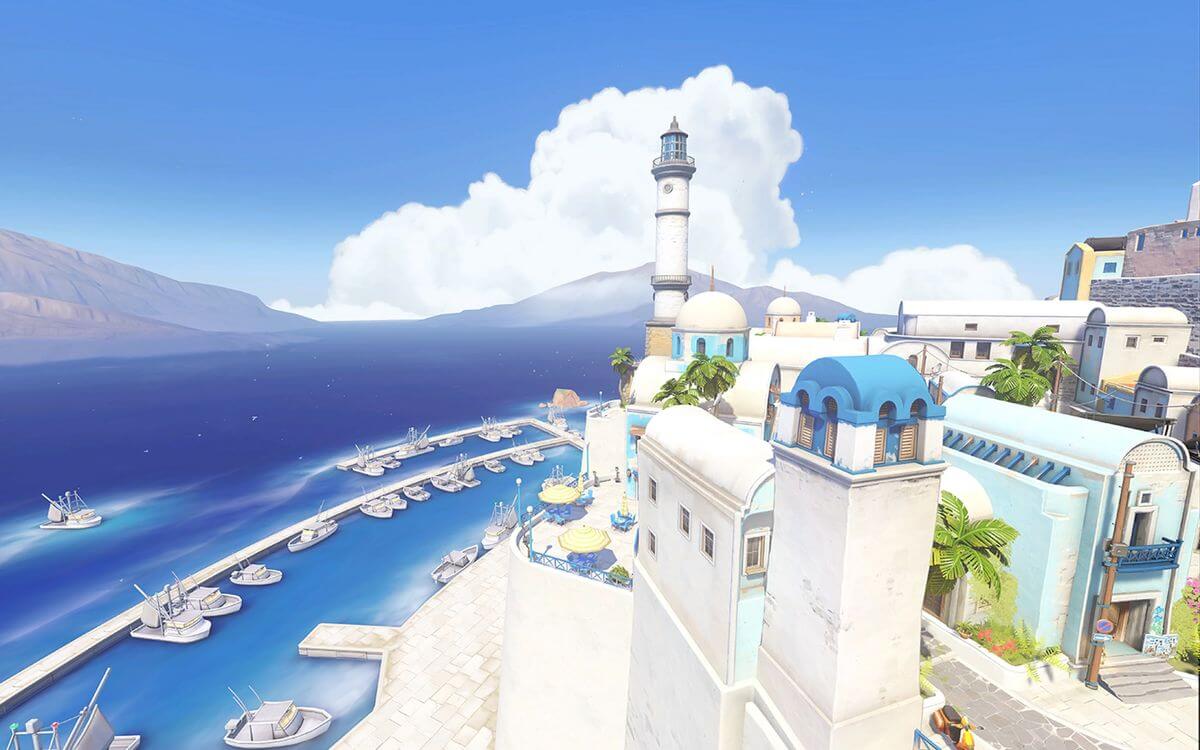
Ilios
#29C
Ilios
Control
Map Score
39.4
Pick Rate
5.6%
Win Rate
47.7%
Ban Rate
1.0%
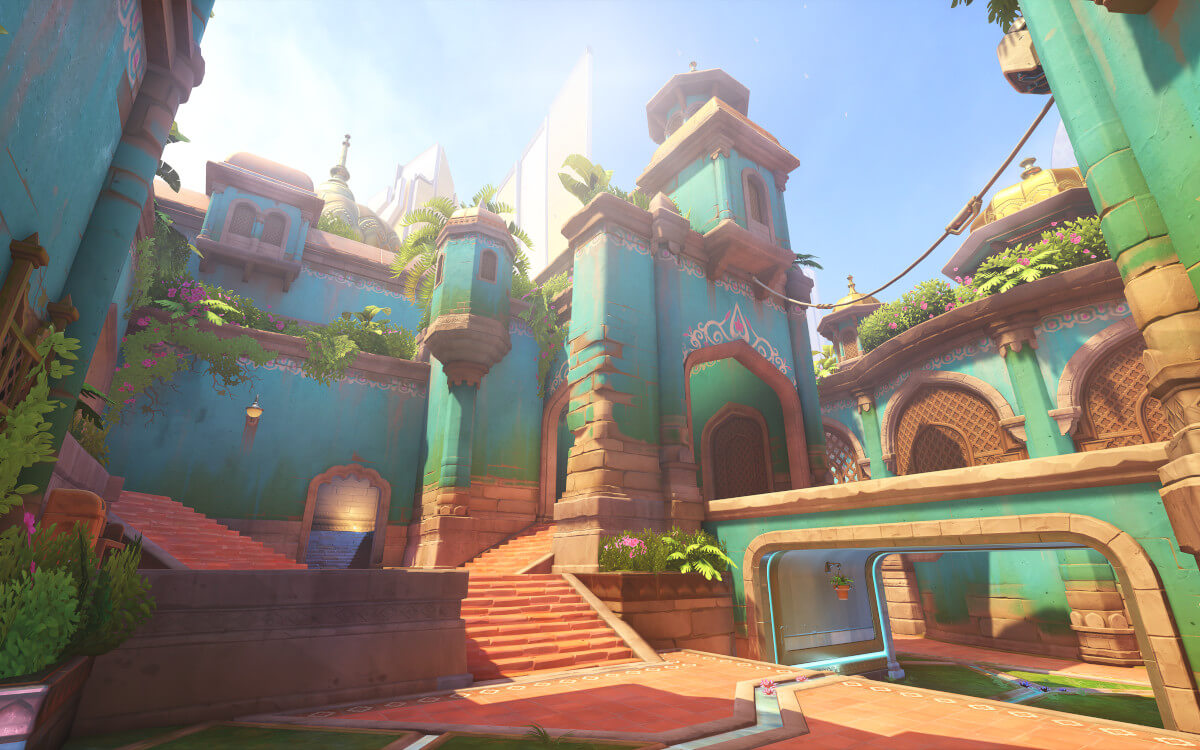
Suravasa
#30B
Suravasa
Flashpoint
Map Score
37.0
Pick Rate
4.9%
Win Rate
47.5%
Ban Rate
1.2%
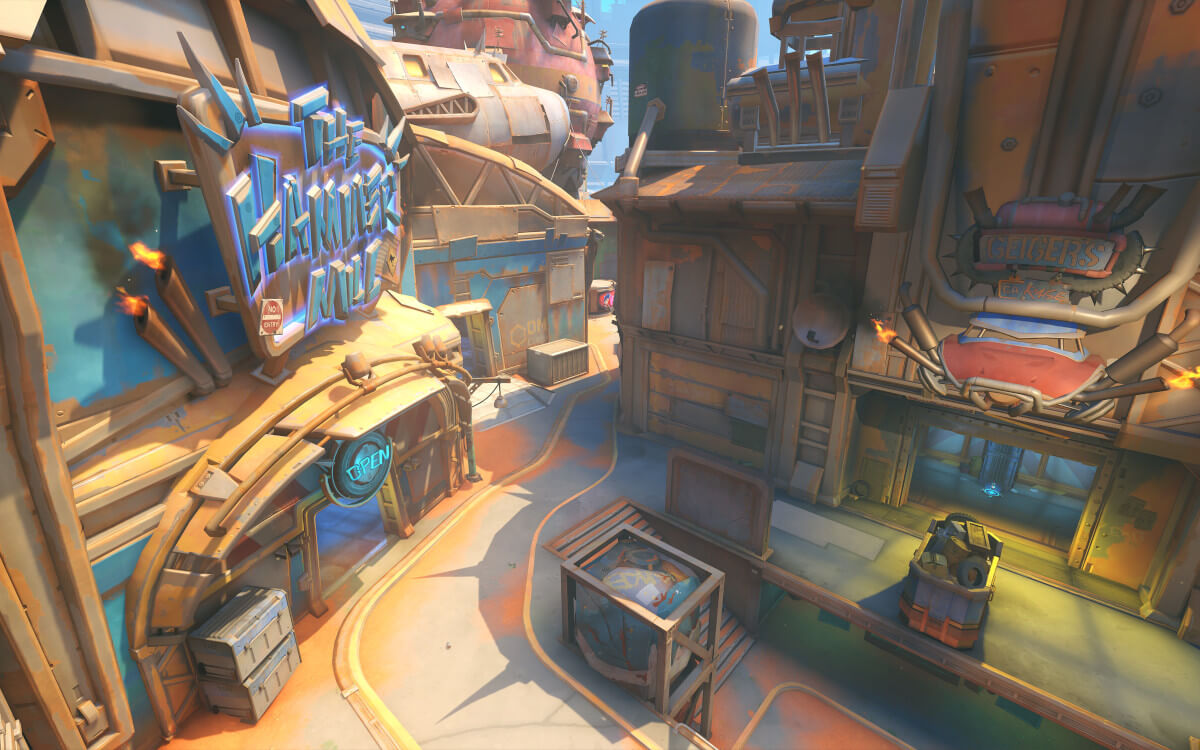
New Junk City
#31C
New Junk City
Flashpoint
Map Score
34.7
Pick Rate
4.8%
Win Rate
45.0%
Ban Rate
1.3%