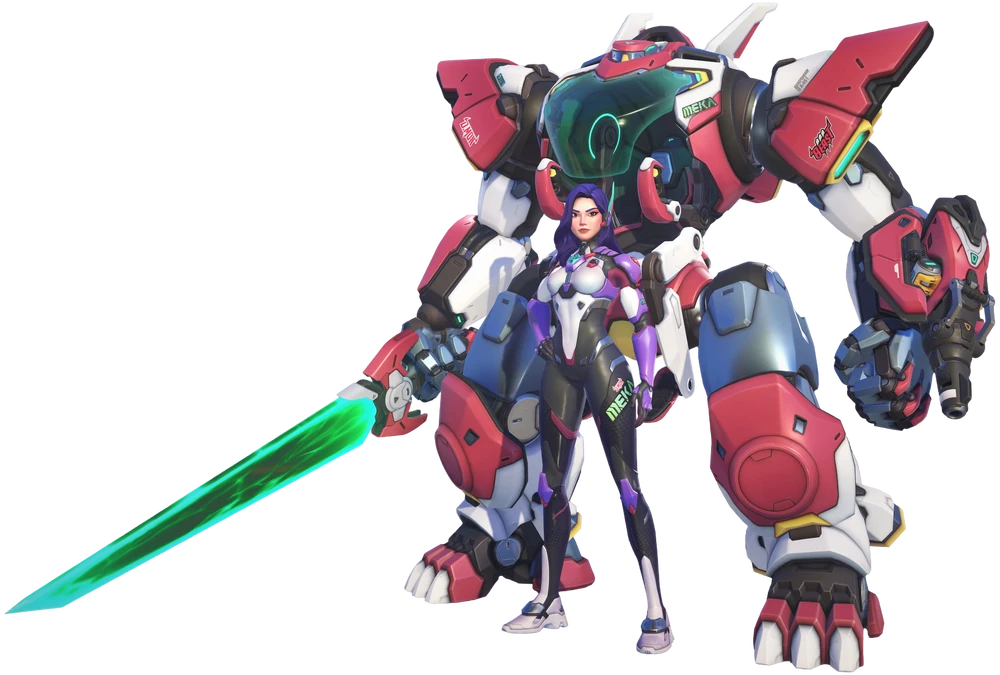
Trelvic
Trelvic
OVERWATCH 2 Analytics

D.Mon Statistics

dmon
TankTank
StalwartStalwart

TankStalwartDifficulty 3.0/5
Trelvic Patch : 1.112026.09.27 Updated
Data Analysis

Current Hero Analysis

Reads the current tier, pick rate, win rate, ban rate, matchups, and map data together to explain this hero's current position.

View methodology
Meta Position

D.Mon sits in the upper range at 14/53. Its A tier and 5/15 role rank confirm current competitiveness, with a +0.6 point gap from the role average.

Overall rank #14/53Role rank #5/15Overall 23.4

Performance Profile

Pick rate 13.7% is above the role average of 7.4%, while win rate 49.6% stays near average. Popularity is high, but the result needs the other metrics.

Win Rate 49.6%Pick Rate 13.7%Ban Rate 11.8%
Matchup Profile

Across 23 matchup records, the toughest listed opponent is Ramattra (100.0), while the most favorable listed matchup is Sigma (100.0).

Matchups 23Counter 100.0Advantage 100.0
Map Profile

Across 26 maps, Eichenwalde (79.6) and Circuit Royal (45.9) are separated by 33.7 points. Map performance varies enough that the total score alone is not enough.

Strong map 79.6Weak map 45.9Map spread 33.7
Hero Skills

Skills & Perks

Review this hero's skills and perks, then explore recommended combinations.

Skills
Perks
Skills

Plasma Saber

Skill Details

Plasma Saber

Description

Fast energy melee weapon.

Hero Tips

Fast energy melee weapon.

Recommended Build

Recommended Perks

Perk combinations that are strong choices for the current meta.

Perk Tier

Lv.2 Minor Perks

Beast Within
Lv.2
Beast Within
Perks

Plasma Saber hits heal Power Barrier by 40 health.

LAlt
LMB
MEKA Mobility
Lv.2Best
MEKA Mobility
Perks

While holding Power Barrier, Propulsors fuel cost is reduced by 30%.

LAlt
RMB
Perk Tier

Lv.3 Major Perks

Overstrike
Lv.3
Overstrike
Perks

Surging Strike gains 150% lifesteal.
LAlt
LMB
Focused Fusion
Lv.3Best
Focused Fusion
Perks

Fusion Repeater fires stronger shots with no spread at a slower rate.

LAlt
RMB
Tier Performance

Tier Performance

Compare overall, pick rate, win rate, and ban rate by competitive tier. Trend values appear when available in the database.

브론즈
Competitive
Overall
28.3
-
Pick Rate
9.5%
-
Win Rate
55.2%
-
Ban Rate
23.4%
-
실버
Competitive
Overall
29.1
-
Pick Rate
9.5%
-
Win Rate
55.0%
-
Ban Rate
22.5%
-
골드
Competitive
Overall
29.4
-
Pick Rate
9.1%
-
Win Rate
55.1%
-
Ban Rate
23.4%
-
플래티넘
Competitive
Overall
25.7
-
Pick Rate
8.5%
-
Win Rate
55.4%
-
Ban Rate
24.9%
-
에메랄드
Competitive
Overall
20.2
-
Pick Rate
8.6%
-
Win Rate
56.2%
-
Ban Rate
28.3%
-
다이아몬드
Competitive
Overall
21.2
-
Pick Rate
8.4%
-
Win Rate
56.3%
-
Ban Rate
34.1%
-
마스터
Competitive
Overall
18.8
-
Pick Rate
7.9%
-
Win Rate
55.9%
-
Ban Rate
42.3%
-
그랜드마스터
Competitive
Overall
16.2
-
Pick Rate
9.0%
-
Win Rate
57.7%
-
Ban Rate
50.3%
-
Map Win Rate

Map Win Rate

Review every map for this hero by map score and mode-specific win rate.
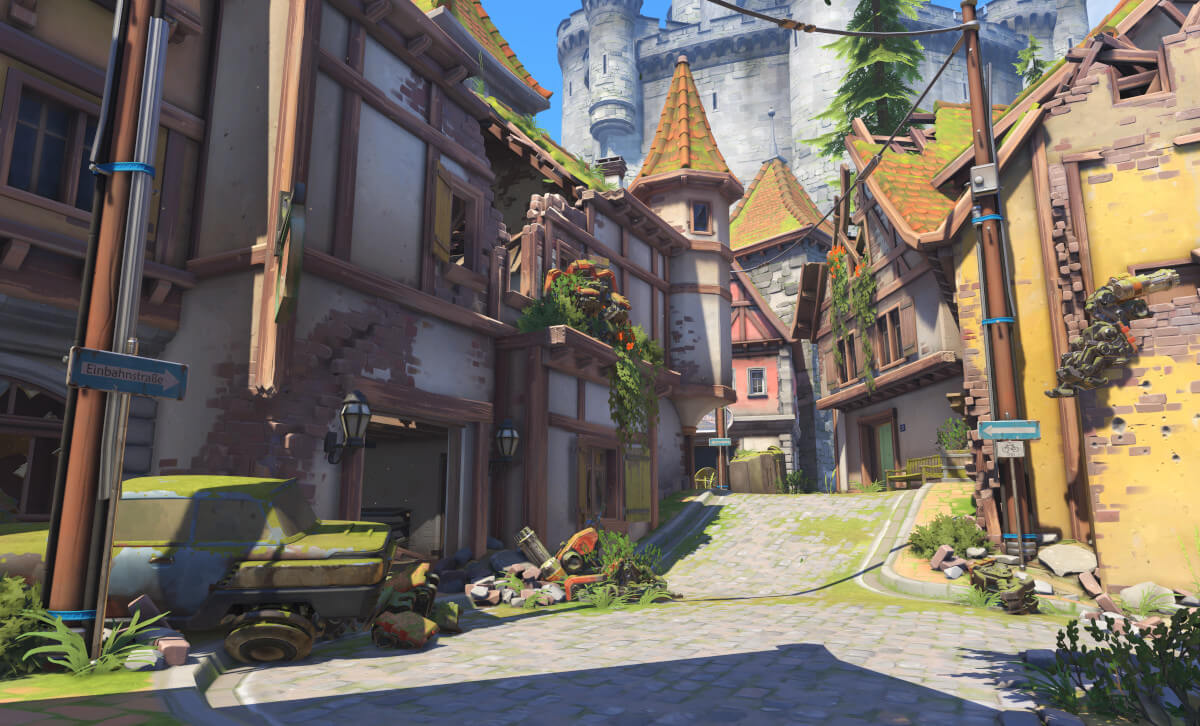
Eichenwalde
#1D
Eichenwalde
Hybrid
Map Score
79.6
Pick Rate
33.1%
Win Rate
51.9%
Ban Rate
11.8%
Busan
#2D
Busan
Control
Map Score
62.4
Pick Rate
11.3%
Win Rate
57.1%
Ban Rate
27.1%
New Queen Street
#3D
New Queen Street
Push
Map Score
62.0
Pick Rate
14.3%
Win Rate
52.2%
Ban Rate
4.6%
New Junk City
#4D
New Junk City
Flashpoint
Map Score
62.0
Pick Rate
14.2%
Win Rate
52.3%
Ban Rate
4.6%
Ilios
#5D
Ilios
Control
Map Score
61.1
Pick Rate
13.1%
Win Rate
53.0%
Ban Rate
4.4%
Runasapi
#6D
Runasapi
Push
Map Score
60.8
Pick Rate
13.9%
Win Rate
51.7%
Ban Rate
4.3%
Colosseo
#7D
Colosseo
Push
Map Score
60.7
Pick Rate
13.9%
Win Rate
51.6%
Ban Rate
4.6%
Oasis
#8D
Oasis
Control
Map Score
60.4
Pick Rate
13.8%
Win Rate
51.5%
Ban Rate
4.6%
Esperanca
#9D
Esperanca
Push
Map Score
60.3
Pick Rate
14.1%
Win Rate
51.0%
Ban Rate
4.5%
Antarctic Peninsula
#10D
Antarctic Peninsula
Control
Map Score
59.9
Pick Rate
10.7%
Win Rate
55.9%
Ban Rate
27.5%
Lijiang Tower
#11D
Lijiang Tower
Control
Map Score
59.0
Pick Rate
13.2%
Win Rate
51.1%
Ban Rate
4.3%
Samoa
#12D
Samoa
Control
Map Score
58.9
Pick Rate
14.1%
Win Rate
49.8%
Ban Rate
4.7%
Nepal
#13D
Nepal
Control
Map Score
58.7
Pick Rate
13.3%
Win Rate
50.7%
Ban Rate
4.6%
Hanaoka
#14D
Hanaoka
Clash
Map Score
57.1
Pick Rate
12.1%
Win Rate
51.0%
Ban Rate
4.8%
Neon Junction
#15D
Neon Junction
Hybrid
Map Score
56.0
Pick Rate
11.4%
Win Rate
51.1%
Ban Rate
5.3%
Paraiso
#16D
Paraiso
Hybrid
Map Score
55.8
Pick Rate
11.3%
Win Rate
51.0%
Ban Rate
5.2%
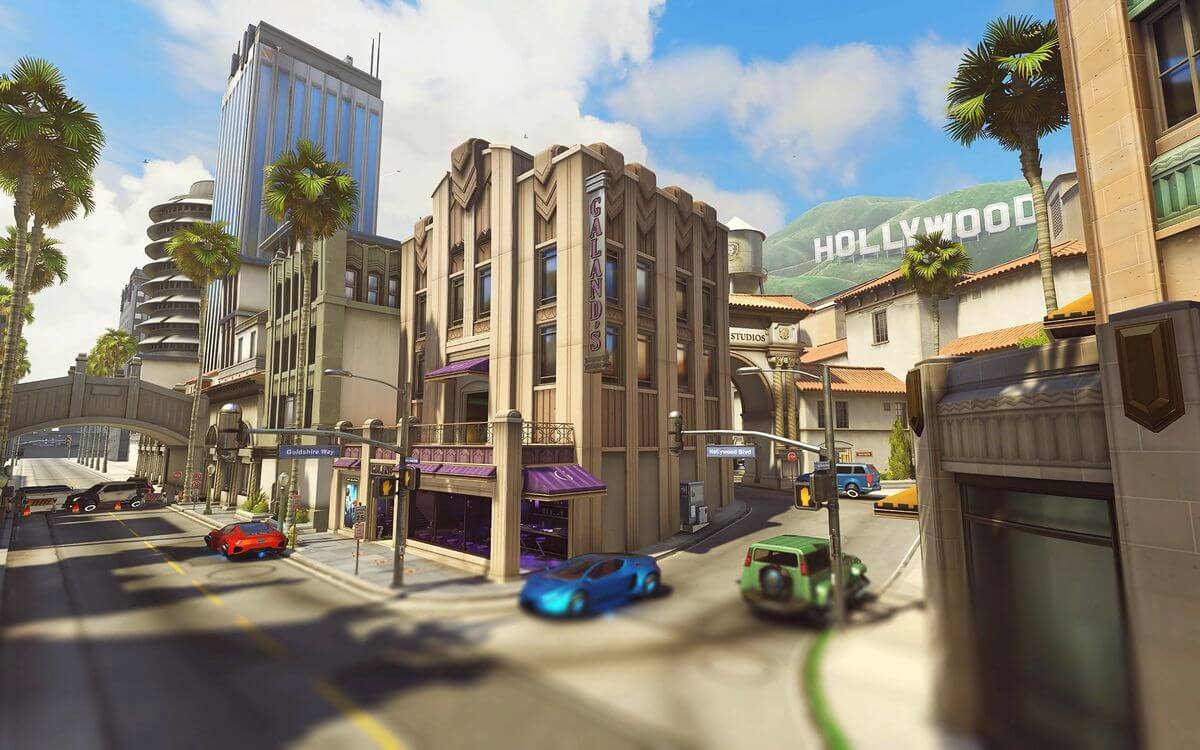
Hollywood
#17D
Hollywood
Hybrid
Map Score
55.3
Pick Rate
10.0%
Win Rate
52.9%
Ban Rate
5.3%
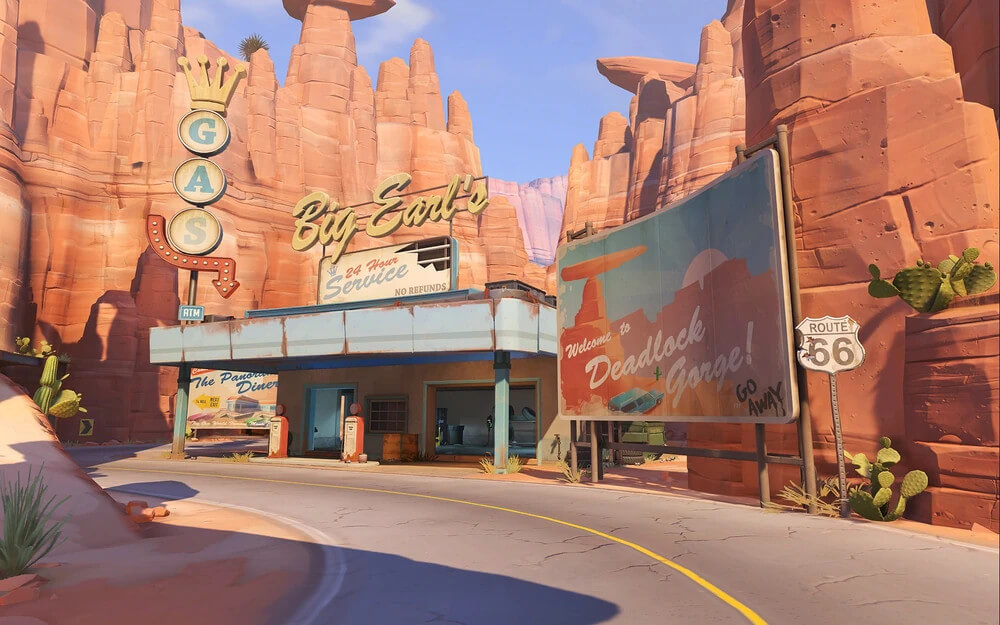
Route 66
#18D
Route 66
Escort
Map Score
54.6
Pick Rate
10.0%
Win Rate
52.2%
Ban Rate
5.3%
Midtown
#19D
Midtown
Hybrid
Map Score
53.7
Pick Rate
11.3%
Win Rate
49.1%
Ban Rate
5.1%
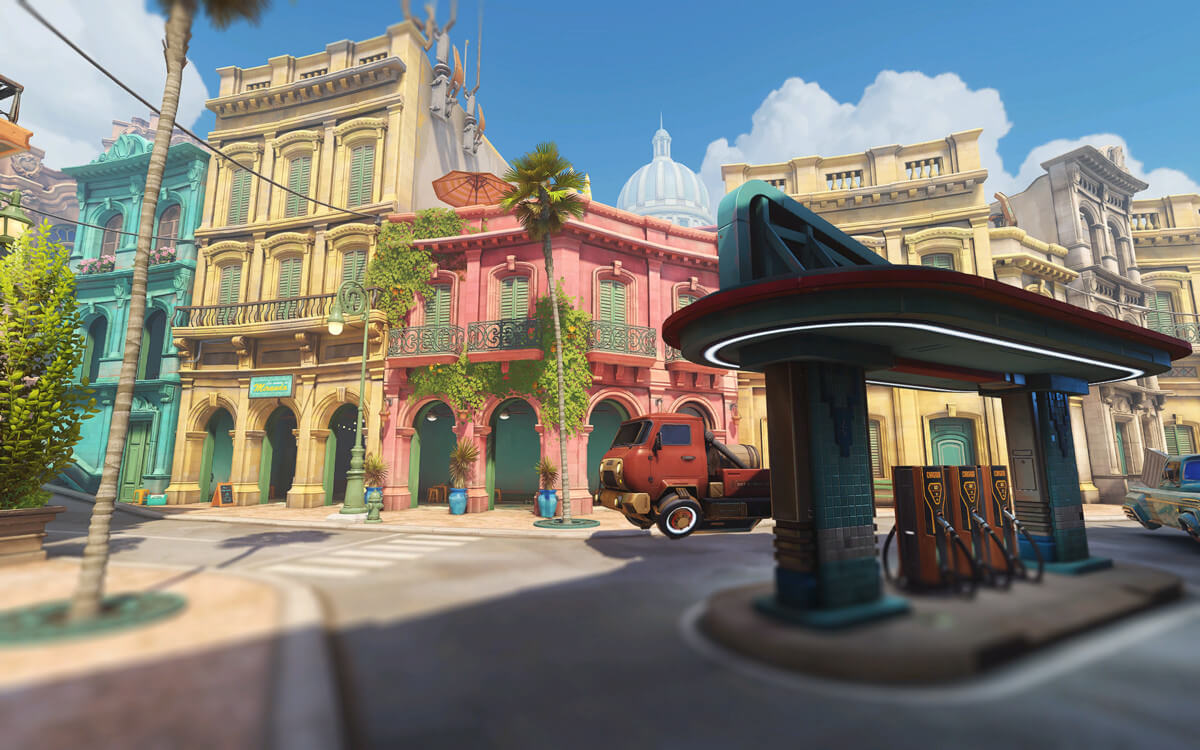
Havana
#20D
Havana
Escort
Map Score
53.5
Pick Rate
9.8%
Win Rate
51.6%
Ban Rate
5.6%
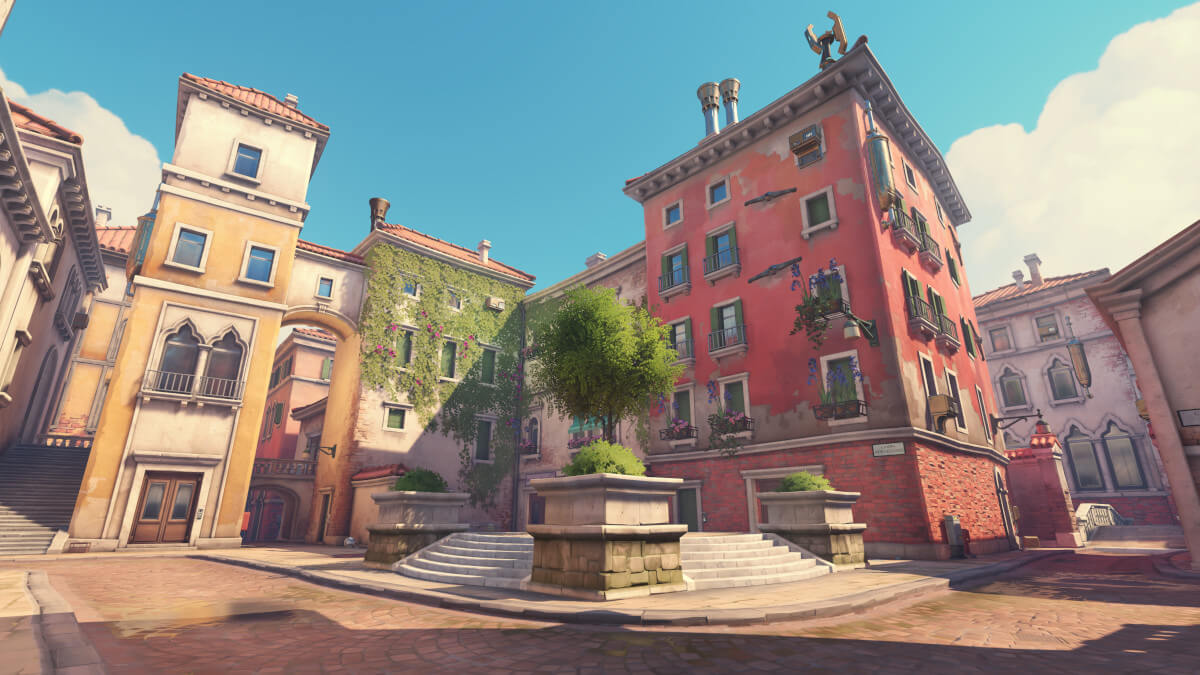
Rialto
#21D
Rialto
Escort
Map Score
53.1
Pick Rate
10.5%
Win Rate
49.9%
Ban Rate
4.7%
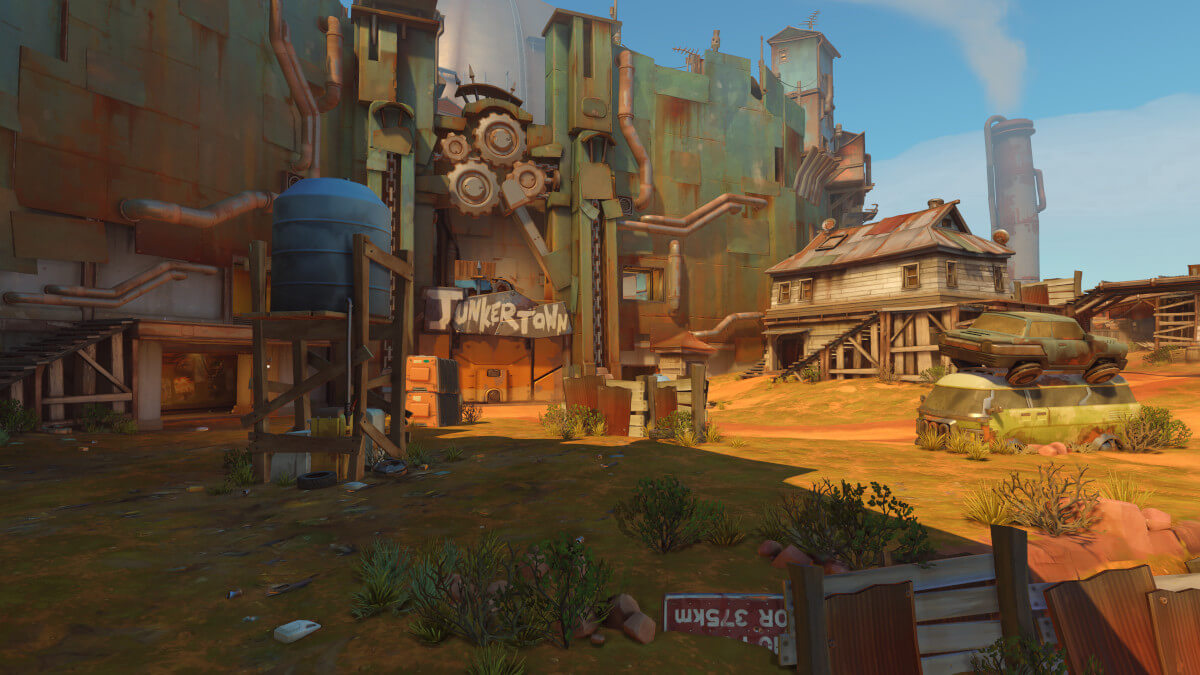
Junkertown
#22D
Junkertown
Escort
Map Score
53.1
Pick Rate
9.9%
Win Rate
51.0%
Ban Rate
4.9%
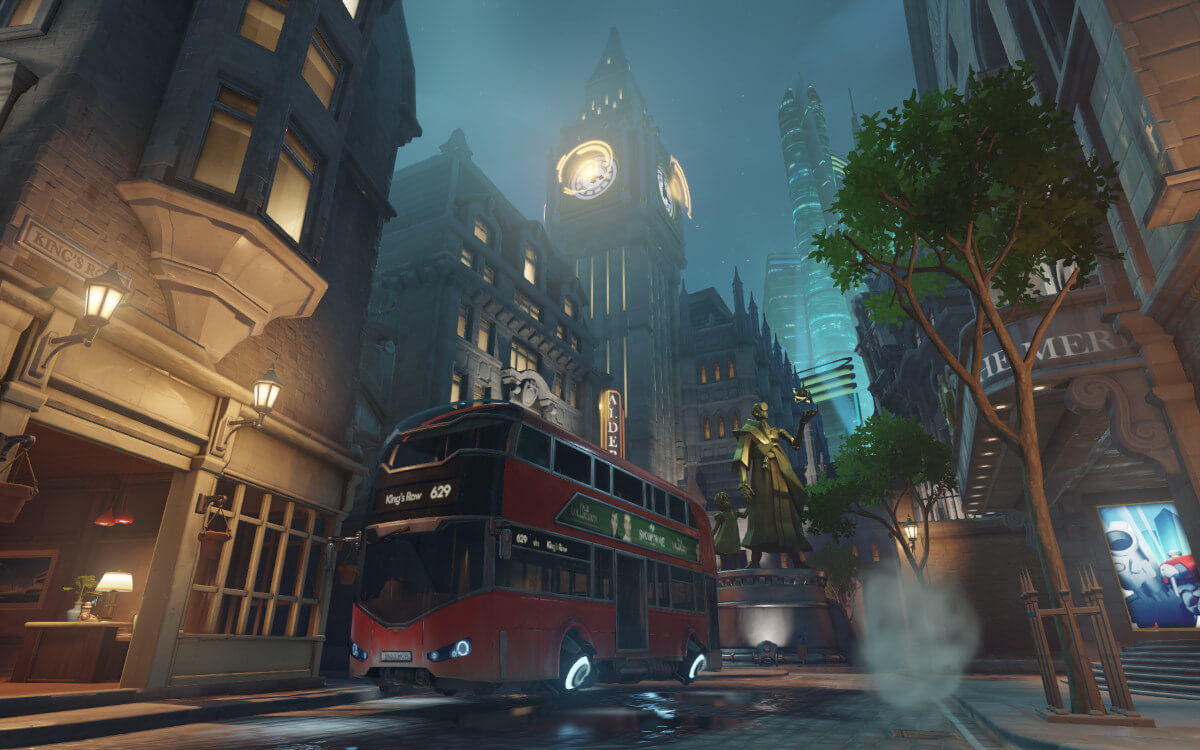
King's Row
#23D
King's Row
Hybrid
Map Score
50.3
Pick Rate
9.9%
Win Rate
48.3%
Ban Rate
5.0%
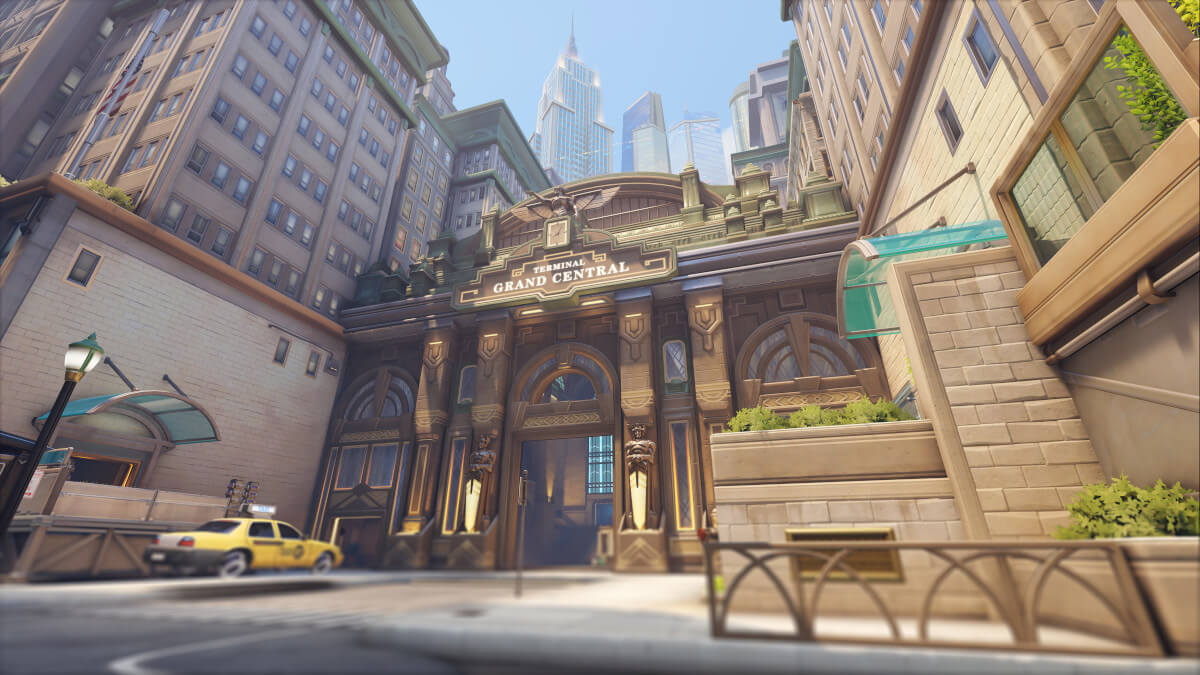
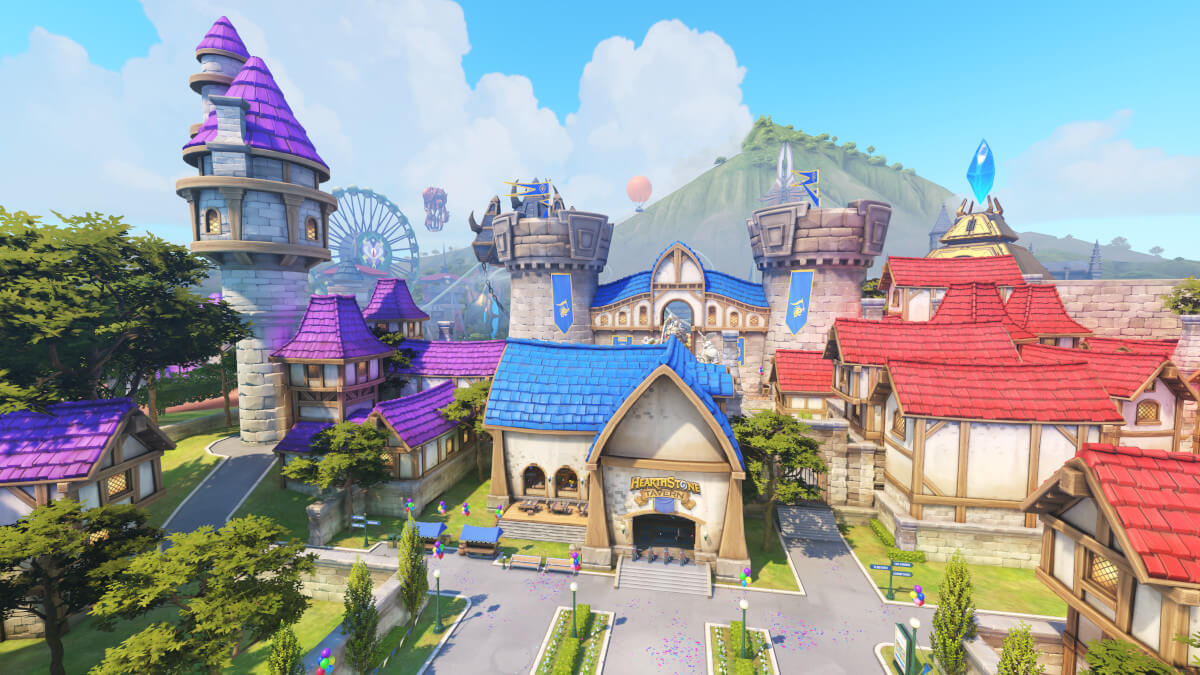
Blizzard World
#24D
Blizzard World
Hybrid
Map Score
49.3
Pick Rate
7.7%
Win Rate
52.2%
Ban Rate
22.8%
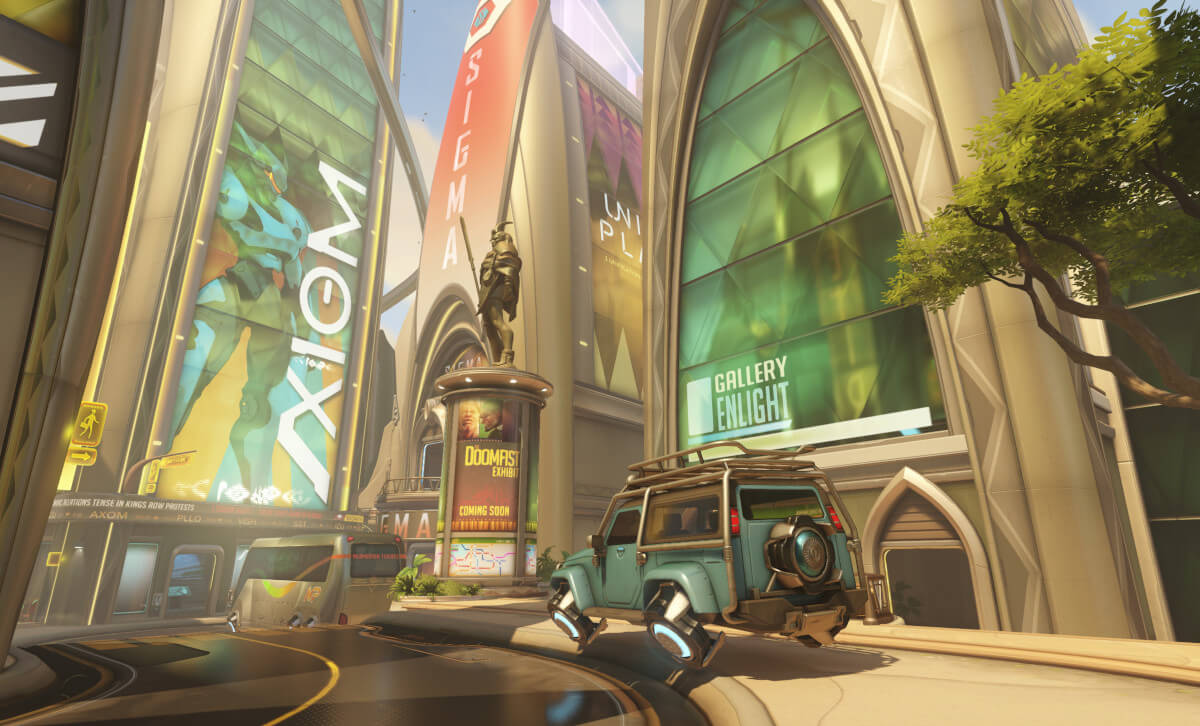
Numbani
#25D
Numbani
Hybrid
Map Score
48.7
Pick Rate
9.7%
Win Rate
47.1%
Ban Rate
4.3%
Circuit Royal
#26D
Circuit Royal
Escort
Map Score
45.9
Pick Rate
6.4%
Win Rate
52.5%
Ban Rate
23.4%